This “Fermented Kale” post contains affiliate links. Please read my affiliate disclosure.
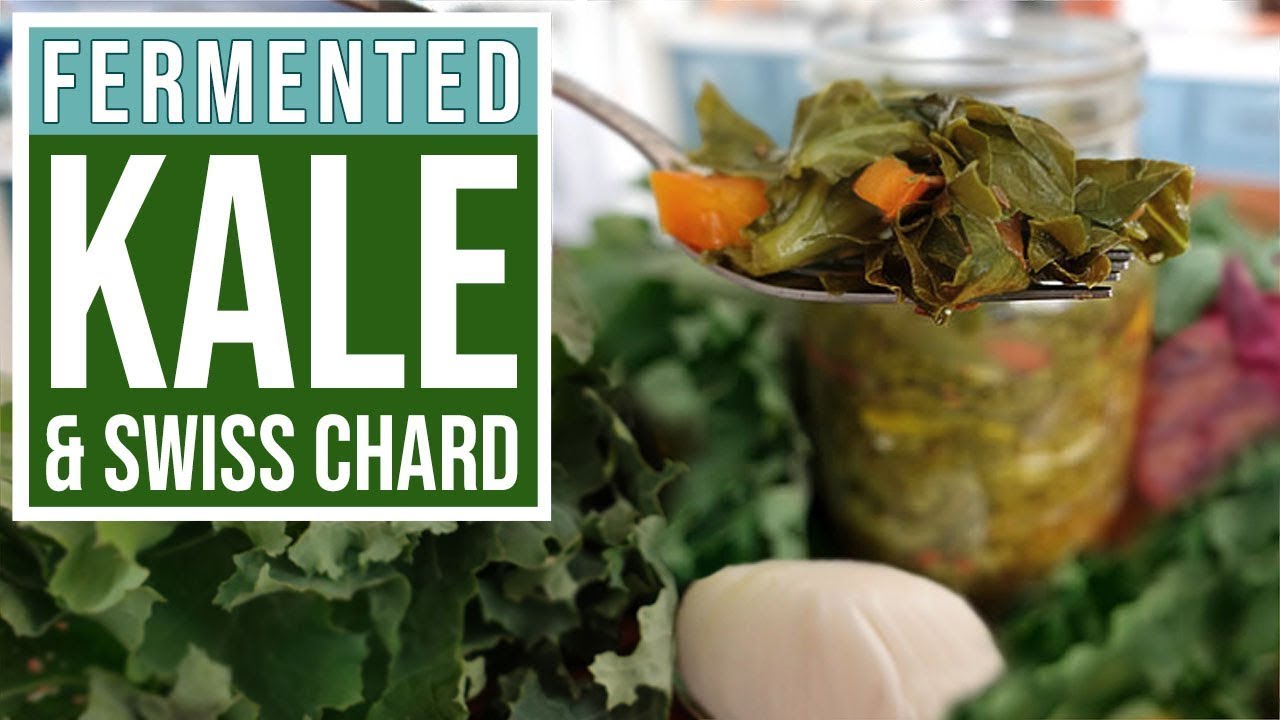
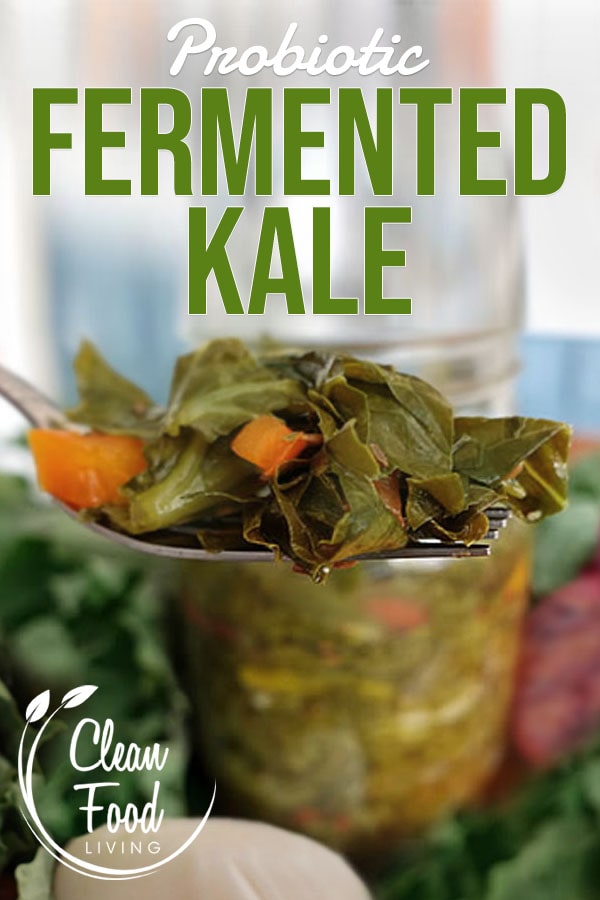
Fermenting Kale: A Nutrient-Rich Probiotic Powerhouse
Kale is often touted as a nutritional superstar and has taken on refreshed popularity in recent years. Have you ever tried fermenting it?
Kale can indeed be fermented, resulting in a probiotic-rich food that packs a punch in terms of both flavor and health benefits. Similar to kale, Swiss chard can also be fermented using this same method!
In this article, we will explore the procedure of fermenting kale and Swiss chard, overcoming common challenges, and how to incorporate these fermented greens into your daily diet.
Make Fermented Kale & Swiss Chard With Me
If you are new to to the world of fermentation, fermenting kale & Swiss chard can be a level up in skill. Ferment along with me by watching the video where I’ll take you through the process, step-by-step!
Fermenting Kale and Swiss Chard: Challenges and Solutions
Fermenting kale and Swiss chard presents a unique set of challenges that differ from fermenting other vegetables. Here are 4 common challenges and some expert tips to overcome them:
Challenge 1: Structural Integrity
Unlike delicate greens such as spinach or lettuce, kale has thicker, tougher leaves with firm, fibrous veins. These structural features actually make kale and Swiss chard ideal candidates for fermentation.
Delicate greens like spinach will turn to mush during the fermenting process, whereas the durable structural integrity of kale & Swiss chard will remain intact.
What’s the lesson here? If you’re going to ferment greens, stick with greens that have a strong structure like kale & Swiss chard and avoid tender greens that will ultimately disintegrate.
Challenge 2: Kale Variety
The choice of kale variety matters!
Broad leaf kales such as Siberian Kale, tend to be better for fermenting than dinosaur kale because that variety is excessively fibrous. Those excess fibrous veins throughout the leaf can cause the end result to be quite chewy and non-desirable. Curly kale falls somewhere in between.
Solution
If available, opt for broad leaf kale varieties for better results. However, if dinosaur or curly kale must be used, slice or chop the leaves into very thin or small pieces to break up the fibrous veins.

Challenge 3: Fermentation
The beneficial microbes that are naturally present on kale and Swiss chard leaves, are crucial for fermentation. These necessary microbes are removed through washing or power -rinsing.
Store-bought greens particularly have this problem because they are power washed before hitting the grocery store shelf. This includes packaged greens as well.
Solution
Since power-washing/rinsing can hinder the fermentation process due to removing the necessary microbes, here’s what to do… Boost the fermentability of these power greens by combining the kale or Swiss chard with other vegetables.
The combination not only helps to initiate fermentation by enriching the probiotic profile, but also enhances flavor and provides more food for beneficial bacteria to thrive.
Challenge 4: Quantity
Kale and Swiss chard can shrink significantly during fermentation, making it necessary to have a substantial amount of leaves. A single jar of fermented kale or Swiss chard can take up to 3 bundles purchased from a grocery store or market. This can be costly!
Solutions:
1. Grow your own kale or find a friend, neighbor or family member who is. They usually have plenty to share!
2. If the above is not an option, compensate for lesser greens by adding more of the other vegetables into the recipe.
Ingredients Needed
Kale or Swiss Chard
These nutrient-rich leafy greens are known for their robust flavor and various health benefits.
- Role in Fermentation: Adds a hearty and earthy flavor to the fermented mix while providing essential vitamins and minerals.
Cabbage
This leafy cruciferous vegetable with a mild taste and crisp texture adds flavor and fermentation stability.
- Role in Fermentation: Contributes to the overall texture and helps kickstart the fermentation process because it is one of the most ferment-reliable vegetables.
Carrot
This vibrant orange root vegetable with a sweet and crunchy profile, adds color and flavor to this wonderful ferment.
- Role in Fermentation: Introduces natural sweetness and enhances the visual appeal of the fermented mixture.
Onion
This pungent and flavorful bulb adds it’s own unique probiotic strains which contribute to a wonderful diversity of good bacteria.
- Role in Fermentation: Adds a savory depth of flavor and helps the fermentation process.
Garlic
This potent bulb known for its strong aroma and distinct taste, offers its own profile of health benefits.
- Role in Fermentation: Provides a robust and savory flavor to the fermented mixture and is a pre-biotic for the other good microbes to feed on which boosts the fermentation process.
Spice Seed
These small seeds with a variety of flavors are often used to add depth to dishes through their delicate tinges of flavor. In my fermented kale video, I use fresh ground caraway seeds. Dill or fennel seeds are alternative options that also delishify and enhance the flavor of the ferment.
- Role in Fermentation: Enhances the overall flavor profile that kale needs to taste good.
Saltwater Brine
This solution of water and salt is carefully measured to create the ideal environment for fermentation.
- Role in Fermentation: Brine fosters the activity of beneficial bacteria while inhibiting the growth of harmful microorganisms, ensuring a successful fermentation that is safe to eat.
Fermenting Kale and Swiss Chard: Instructions
Step 1: Inspect & Rinse
Inspect the kale or Swiss chard. If there is nothing to rinse off, then skip the rinsing. If there is a little debris or dirt present, go ahead and give the leaf a light rinse where it needs it. But keep it light as to not rinse away the beneficial bacteria that are naturally present on the leaves!
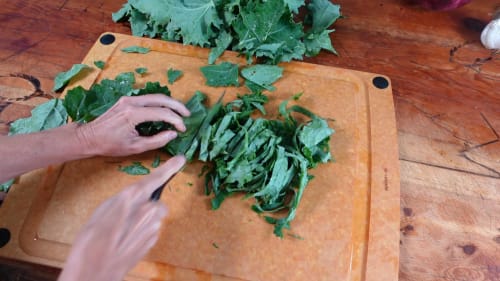
Step 2: Slice & Chop The Kale or Swiss Chard
Cut out the thick stem of the kale or Swiss chard leaf.


Then roll the leaf up like cigar and slice the leaves. Place the cut & sliced kale or Swiss chard leaves in a large mixing bowl.


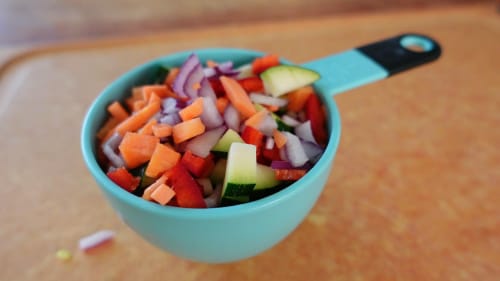
Step 3: Slice & Chop The Other Vegetables
Prepare the other vegetables by chopping the carrot & cabbage and slicing the onion & peeled garlic, Add the vegetables to the bowl with the greens.
NOTE: Before chopping the cabbage, remove one or two whole outer cabbage leaves and set aside for later use.

Step 4: Grind The Spice
Select which spice seed you want to use such as caraway, dill or fennel.
Crush or grind the seeds as to break them open. Personally, I use a coffee bean grinder to fresh grind my spices. It never sees coffee beans, rather it is exclusively used for grinding and/or pulverizing spices and herbs. If you plan to do much fermenting, one of these little grinders is a great investment!
The fresh grinding of the spice seeds not only releases their powerful flavors and aromas, but also makes their antioxidants bio-available to the fermenting process and human digestion.
Sprinkle the spice seeds over the vegetable mixture in the bowl.

Step 5: Make The Brine
Combine the salt and water to create the brine. Mix thoroughly until most of the salt is completely dissolved. If using an unrefined salt, a little sediment is okay.

Pour the brine over the contents in the mixing bowl and give it a light toss with your clean, washed hands as to coat everything with the brine.
Allow the mixture to rest for 15-20 minutes. This will help soften the vegetables which makes loading the jar easier.

Step 6: Wash The Fermenting Vessel & Weight
Prepare the equipment by washing the glass jar and fermenting weight in hot soapy water. Sterilization is not required, hot & soapy water is sufficient.

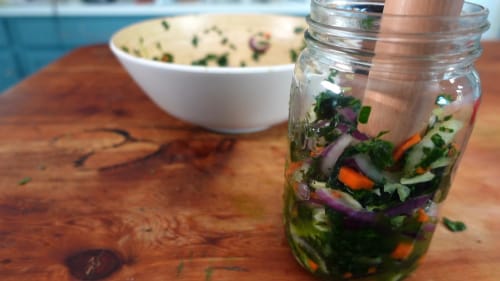
Step 7: Load The Jar
- To load the vegetable mixture, place 1 to 3 handfuls into the jar.
- Then add a scoop of the brine from the bowl into the jar as well.
- With a mallet, pack down the mixture.
- Repeat the process by adding another couple handfuls into the jar.
- Follow with more brine.
- Pack it down again with the mallet.
- Repeat until the jar is relatively full with a 2-3 inch headspace.
Step 8: Top Off With Brine & Add A Cabbage Leaf Topper
Pour the remaining brine from the mixing bowl over the contents in the jar. Leave a 2-3 inch headspace.
Use one of the saved, whole cabbage leaves set aside from earlier to make a cabbage leaf topper. Work the leaf into the jar to cover the top surface of the vegetable mixture.
Allow the friction of the cabbage leaf against the inside wall of the jar to help hold the cabbage leaf securely in place. In addition to the soon-to-be-added fermentation weight, the cabbage leaf topper will help keep the contents restrained beneath the brine during the fermentation period.

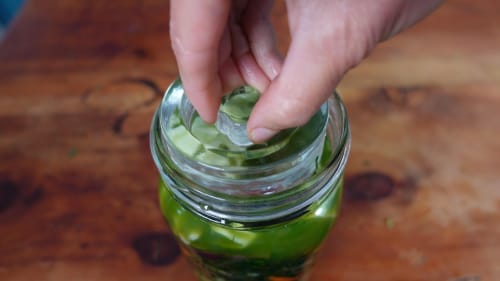
Step 9: Add The Fermenting Weight
Place a fermenting weight atop the cabbage leaf topper.
Even though the contents seem very tight at this point, it is guaranteed by days 2-4 of the fermentation period, the brine will loosen the food and it will float up. Exposure to surface oxygen can cause a fermentation to develop mold or fail. This is why it is imperative to use a fermenting weight.
Notes About The Fermentation Weight:
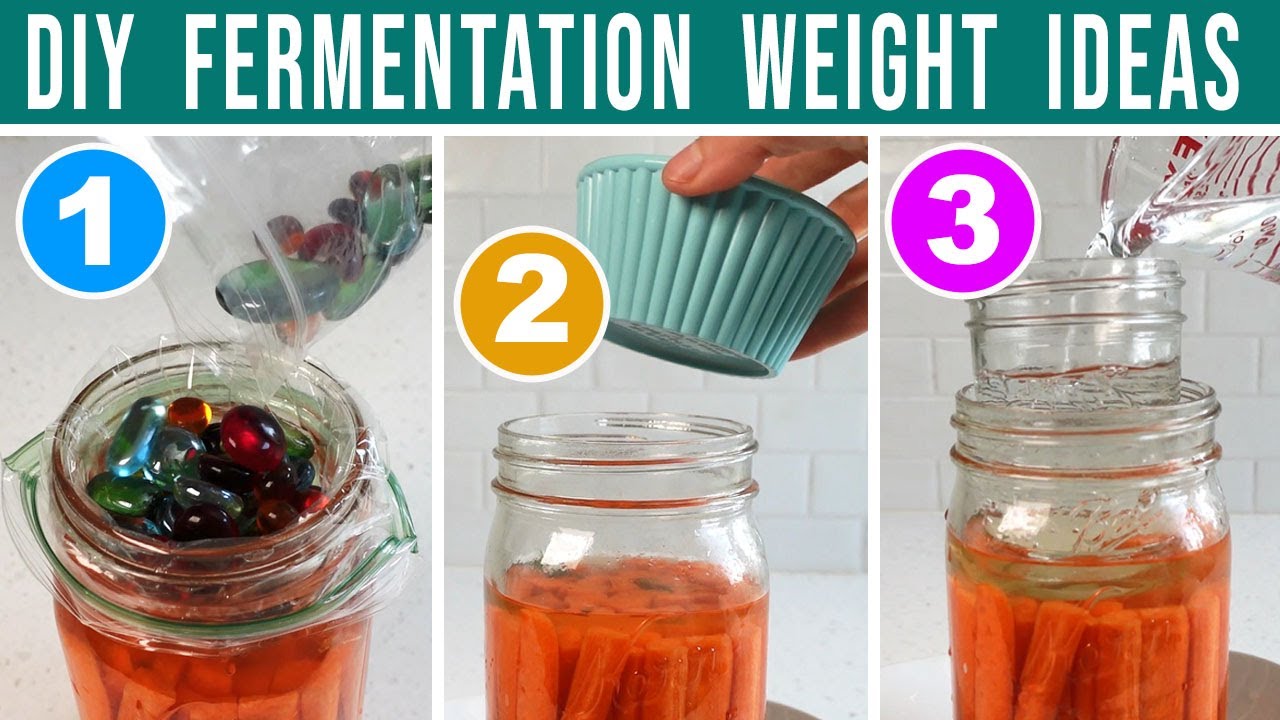
When fermenting foods it’s essential that the food remains submerged beneath the brine. These are the glass fermentation weights I recommend and personally use. They are lead free and heavier than most other glass fermenting weights. The heavier, the better!

If you do not have glass fermenting weights, watch my YouTube video on DIY Fermentation Weight Ideas.
Step 10: The Fermentation Period
- Place a loose lid on the jar. So long as the lid remains loose, it will allow the fermentation gasses to escape without needing to burp the jar.
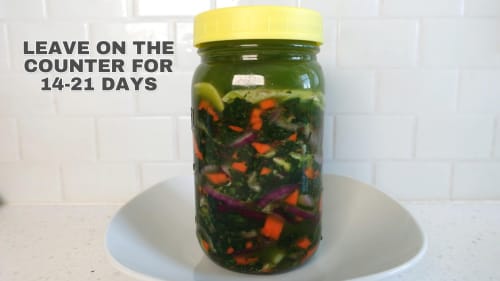
- Leave the jar on the counter at room temperature for 14 to 21 days.
- Exposure to regular room light is fine, but keep the ferment out of direct sunlight.
- During the first week of the fermentation process, the brine will often expand and spill over. Therefore, set the jar atop a dish to catch any possible overflow.
Monitor The Fermentation
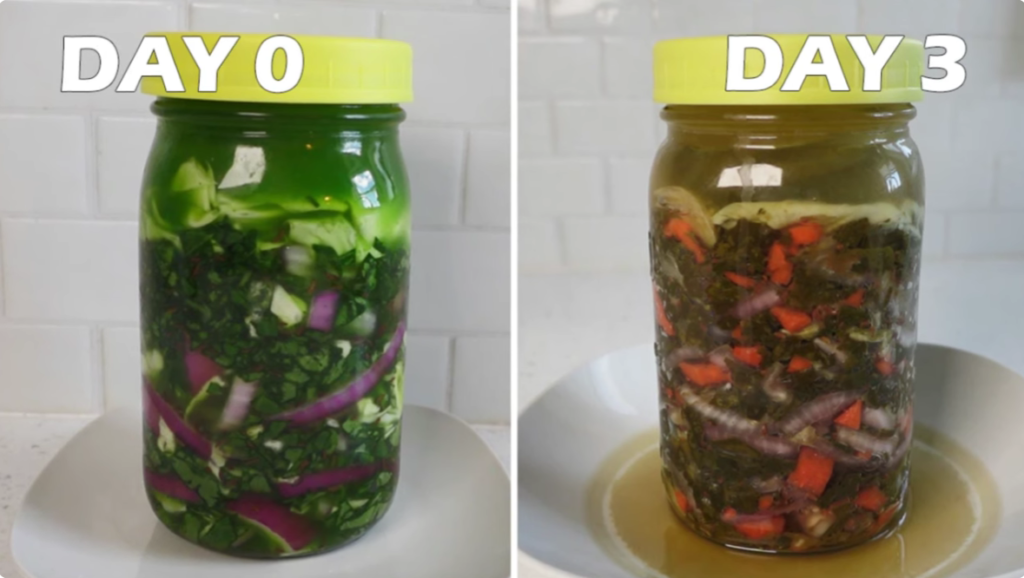
Cloudy Brine & Muted Colors
On day zero of the fermentation period, the colors will be bright and vibrant. However, within a couple of days the colors will shift to olive tones and the brine will appear cloudy. These are normal indications of fermentation taking place.
Bubbles
The formation of bubbles will appear during the first week of the fermentation period. These aren’t air bubbles, but rather carbon dioxide bubbles created by the good microbes. As the ferment advances into week 2 and 3, the bubbles will dissipate. This is normal.

Smell
A healthy fermentation should have a soury-sweet smell with some possible faint sulfur tones. If the ferment smells like this, know that the fermentation is doing well and allow it to keep the course.
On the other hand, when a fermentation goes awry, the smell becomes foul & offensive. If this should happen to the fermenting kale, throw it away because it is not safe to eat.
PH
The good microbes responsible for fermentation will feed on the natural sugars of the vegetables. As a result, they release lactic acid into the brine as their byproduct. The accumulation of lactic acid will drop the PH of the fermenting food into what I call the “safety zone”.
The “safety zone” is a PH below 4.5 on the PH scale. Bad pathogens cannot live in an acidic environment below this PH value.

I recommend taking a PH reading anytime between days 5 through 7 to make sure the PH value has dropped below 4.5. Use a paper PH test strip or a digital PH meter to take the reading.
If the PH remains above 4.5 by days 5-7, then that means the fermentation process did not take hold and the food is not safe to eat. Discard it.
If the PH is below 4.5 by day 5 onward, then that means the fermentation process did take hold and is a success. The fermentation is safe to eat.

Kahm Yeast
It is possible that the fermentation will develop kahm yeast on the surface. Kahm yeast is harmless and not something to be concerned about.
Do not try to clean it off during the fermentation period. Rather, once the fermentation is complete (14-21 days) that is the time to remove the kahm yeast.

Taste Test
Feel free to take a taste test around day 14 by removing the fermentation weight and using a clean fork to reach into the kale mixture and remove a bite. If it tastes delicious at this point, then you may proceed to end the fermentation.
If you would like more flavor to develop along with increased sour-tartness, then re-wash the weight and put it back in the jar. Return the loose lid and allow the kale to continue fermenting for another week.

Ending The Fermentation
Similar to the taste test process, with clean hands reach in and remove the fermenting weight.
If kahm yeast developed on the ferment, the removal of the weight will take with it most of the kahm yeast. Then use a paper towel to wipe out the inside of the jar and dab up any remaining surface kahm yeast pieces.
Do not worry if you are not able to remove 100% of the kahm yeast since it is harmless. Watch my Fermented Kale & Swiss Chard video to see a visual demonstration of the process.

Storage
Once you’ve decided to end the fermentation, do not return the weight to the jar and place the lid on tightly. Transfer to the refrigerator where it will last 6+ months.
Tip #1: When starting a jar to eat, you may also eat the cabbage leaf topper (it too is fermented).
Tip #2: If the fermented greens will be in the refrigerator for awhile before eating, leave the cabbage leaf topper in place because it will help protect the food below during storage.

Is My Fermentation Safe To Eat?
This is the #1 question from fermenting newbies and is an important topic to cover. Below are the 4 safety check points to follow to ensure your fermented food is safe to eat.
- Sight: When you open the jar, inspect the onions for any mold. If there is none, move on to the next check point.
- Smell: Put your nose up the the jar and take a whiff. A healthy fermentation should have a light soury-sweet smell, never foul or offensive.
- PH: Take a PH reading with either a digital meter or paper test strips. A safe fermentation has a PH below 4.5.
- Taste: If the above points all pass, it’s time to take a taste! The onions should taste pleasant (even delicious) and never foul or rotten.
Click here to view or print my 4-point checklist:

Enjoying Fermented Kale and Swiss Chard
Once successfully fermented, these greens can be a versatile addition to your daily diet. Here are some ways to enjoy them:
1. Salads:
Toss fermented kale or Swiss chard into your salad for added flavor and probiotic benefits.
2. Smoothies:
Blend fermented greens into your morning smoothie for a nutritious kick.
3. Sandwiches and Wraps:
Sub the lettuce with fermented kale as a flavorful and probiotic-rich layer in your sandwiches or wraps.
4. Stir-Fries:
Add fermented greens to frys for a tangy twist. But remember, heat kills the beneficial probiotics so add the fermented greens to the dish after it has been cooked.
5. Side Dishes:
Serve a half a cup of fermented kale as a side dish to complement your meals.
Summing Up…
Incorporating fermented kale and Swiss chard into your diet not only provides a unique flavor to your meals, but also delivers a host of health benefits due to their probiotic content.
These fermented greens can be a delicious and nutritious addition to any meal plan, making them a valuable asset to your culinary repertoire. Happy Fermenting!
Fermented Kale and Swiss Chard
Equipment
- 1 Quart/Liter Jar
- 1 Glass Fermentation Weight If you don't have a glass fermenting weight, watch my video on DIY alternatives provided on my website or YouTube channel.
- 1 Lid A regular lid will work. Optionally, you can use a specialty fermenting lid.
Ingredients
- 8 cups Kale or Swiss Chard thinly sliced or chopped
- 1 cup Cabbage chopped
- ½ cup Carrots chopped
- ½ Large Onion sliced
- 2-3 cloves Garlic peeled and sliced
- 2 tbsp Spice Seeds caraway, fennel or dill
- 1 tbsp Salt use a salt that does not contain anti-caking agents
- 1.5 c Water
Instructions
Prepare the Greens
- Both kale or Swiss chard work with this recipe. Inspect the kale or Swiss chard for areas of the leaf that may have some dirt or debris. Lightly spot rinse the area that needs rinsing. If the leaf does not have dirt or debris, skip the rinse.*Do not power-rinse, use produce wash or baking soda/vinegar soaks because they wash away the needed beneficial bacteria for the fermentation.
- Cut out the stem from the leaf and discard.
- Stack several of the leaves on top of each other, then roll them up as one unit.
- Thinly slice the leaf roll. then cross-slice again into smaller pieces.
- Add all the greens to a large mixing bowl.
Prepare The Vegetables
- Remove the outer leaves of the cabbage & discard.
- With the next layer of cabbage leaves, remove 1 or 2 of them. Keep them intact the best you can and set aside for later use.
- With the remaining head of cabbage, cut a chunk off and chop it up into small pieces. Add to the mixing bowl.
- Peel & slice ½ of a large onion and add to the mixing bowl.
- Peel and chop the carrot and add to the mixing bowl.
- Peel and slice the garlic cloves and add to the mixing bowl.
- With a mini electric grinder, freshly grind the spice seed of your choice.Fresh grinding is recommended because it enhances the spice flavor, aroma and breaks open the antioxidants, making them bio-available.If fresh grinding is not an option, you can use whole seeds or pre-ground.
- Sprinkle the spice seed over the vegetables in the mixing bowl.
The Brine
- Add the salt to the water and mix thoroughly. This is enough brine for 1 quart/liter jar.
- Pour the brine over the vegetable mixture in the bowl.
- With clean hands, move the vegetable mixture around in the brine to ensure all of it comes in contact.
- Allow the vegetable mixture to rest for 15-20 minutes in the brine. This will mildly soften the vegetables so that they will load into the jar more easily.Meanwhile, this is a good time to clean up your workstation and prepare for the next steps.
Prepare The Jar & Weight
- Clean the jar and fermenting weight by washing them in hot soapy water. Sterilization is not required, hot & soapy water is sufficient.
Load the Jar
- After the rest period, return to the vegetable mixture. Once again, with clean hands, toss the mixture to coat everything in the brine. You will notice that the greens are more tender and the brine at the bottom of the bowl has turned dark green.
- Take 2 handfuls and drop them one at a time into the jar. Tip: Use a canning funnel. It will make the jar loading easier and less messy.
- From the mixing bowl, add a scoop of brine into the jar.
- Use a mallet or your fist to firmly press down the vegetables before adding more.
- After pressing/packing down, add 2-3 more handfuls of the mixture along with a scoop or two of the brine.Again, press & pack down with the mallet. Repeat until all the contents are in the jar.
- Pour the remaining brine into the jar until there is about a 3 inch (8 cm) headspace.
The Cabbage Leaf Topper
- With one of the cabbage leaves set aside from earlier, tear a piece of it to be placed in the jar. The goal is to create a cabbage leaf topper to cover the greens & vegetables below.Press the edges of the cabbage leaf down along the side of the jar to create a friction that will hold the leaf in place. Use several cabbage pieces if needed until everything is fully covered by the topper.The cabbage leaf topper will help prevent vegetable & spice floaters from rising during the fermentation process. However, it is not intended to be a fermenting weight substitute, rather an addition.
The Fermentation Weight & Lid
- Place the fermentation weight into the jar and press it down.
- If you have any remaining brine in the mixing bowl, pour it over the fermenting weight until it is full submerged.
- Inspect the surface for any food floaters and remove them.
- Place a regular, loose lid on the jar. So long as the lid is loose, fermentation gasses will be able to escape without having to burp the jar. You are welcome to use a specialty fermenting lid if you have one, but it is not required.
The Fermentation Period
- Leave the jar on the counter at room temperature (70-80°F / 21-27°C) for 14 to 21 days.
- Place the jar on a towel or a plate to catch possible brine overflow during the fermentation process.
Kahm Yeast
- It is possible that the fermentation will develop kahm yeast on the surface. Kahm yeast is harmless and not something to be concerned about.Do not try to clean it off during the fermentation period. Rather, once the fermentation is complete (14-21 days) that is the time to remove the kahm yeast.
When is it Ready To Eat?
- Feel free to take a taste test around day 14 by removing the fermentation weight and using a clean fork to reach into the kale mixture and remove a bite. If it tastes delicious at this point, then you may proceed to end the fermentation.If you would like more flavor to develop along with increased sour-tartness, then re-wash the weight and put it back in the jar. Return the loose lid and allow the kale to continue fermenting for another week.
End The Fermentation
- Similar to the taste test process, with clean hands reach in and remove the fermenting weight.If kahm yeast developed on the ferment, the removal of the weight will take with it most of the kahm yeast. Then use a paper towel to wipe out the inside of the jar and dab up any remaining surface kahm yeast pieces.Do not worry if you are not able to remove 100% of the kahm yeast since it is harmless. Watch my Fermented Kale & Swiss Chard video to see a visual demonstration of the process.
- Do not return the fermenting weight to the jar. Place a tight lid on the jar and move it to the refrigerator for long term storage. The fermented kale or Swiss chard can last 6+ months in the cool temps of a refrigerator. Tip #1: When starting a jar to eat, you may also eat the cabbage leaf topper (it too is fermented).Tip #2: If the fermented greens will be in the refrigerator for awhile before eating, leave the cabbage leaf topper in place because it will help protect the food below during storage.
Video
More Recipes …
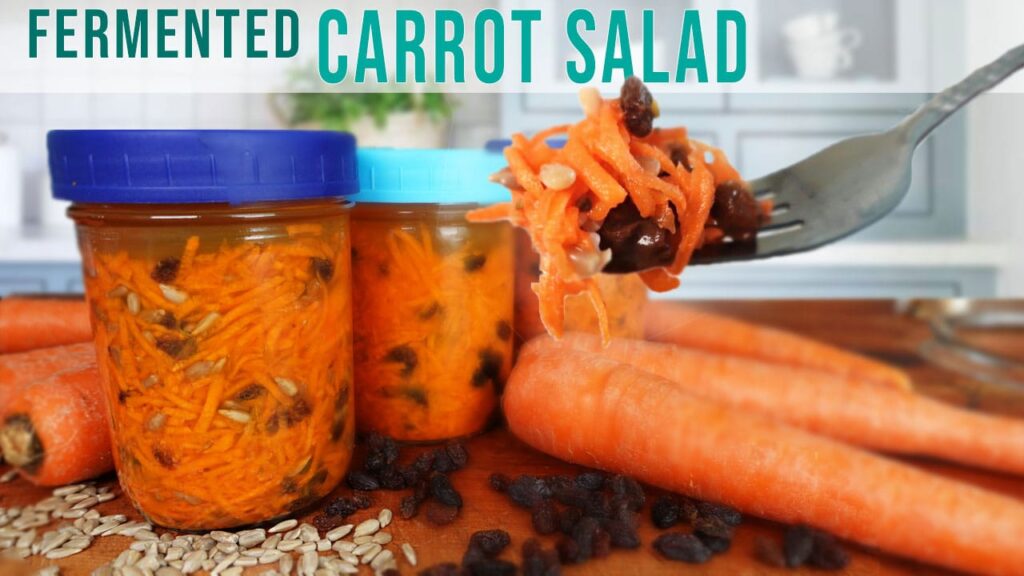
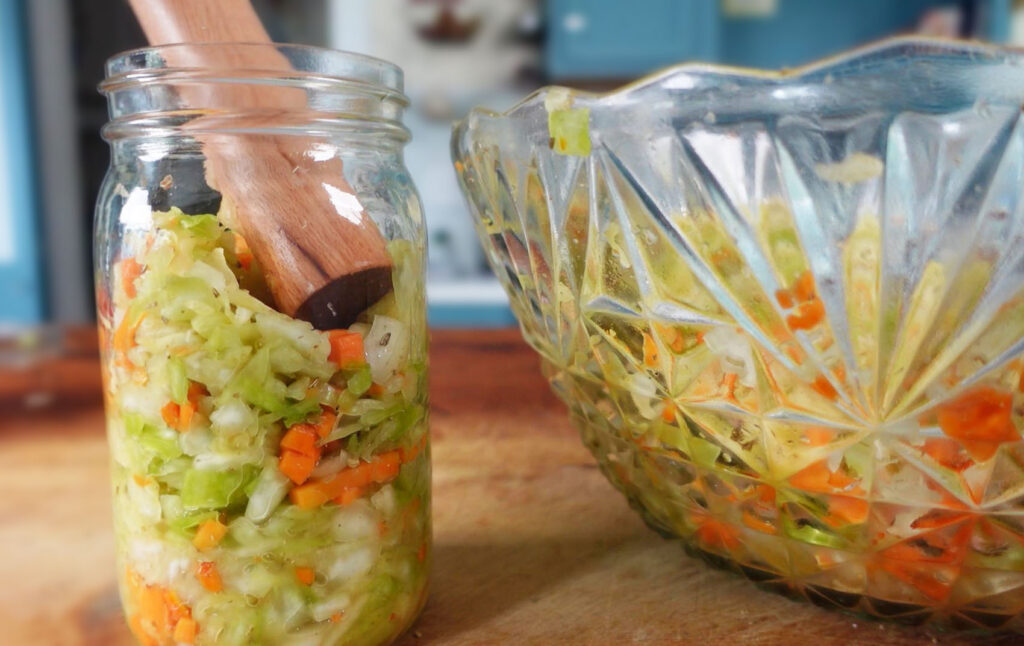
Fermented Carrot Salad
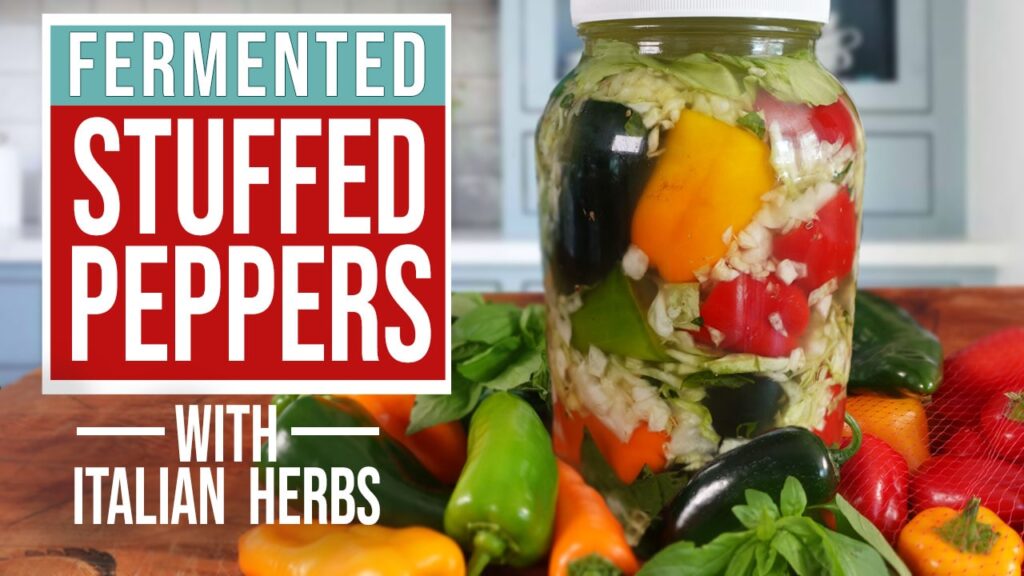
Stuffed Fermented Peppers
Fermented Beans
Fermented Garlic
Sauerkraut Masterclass