This “Fermented Beans” post contains affiliate links. Please read my affiliate disclosure.
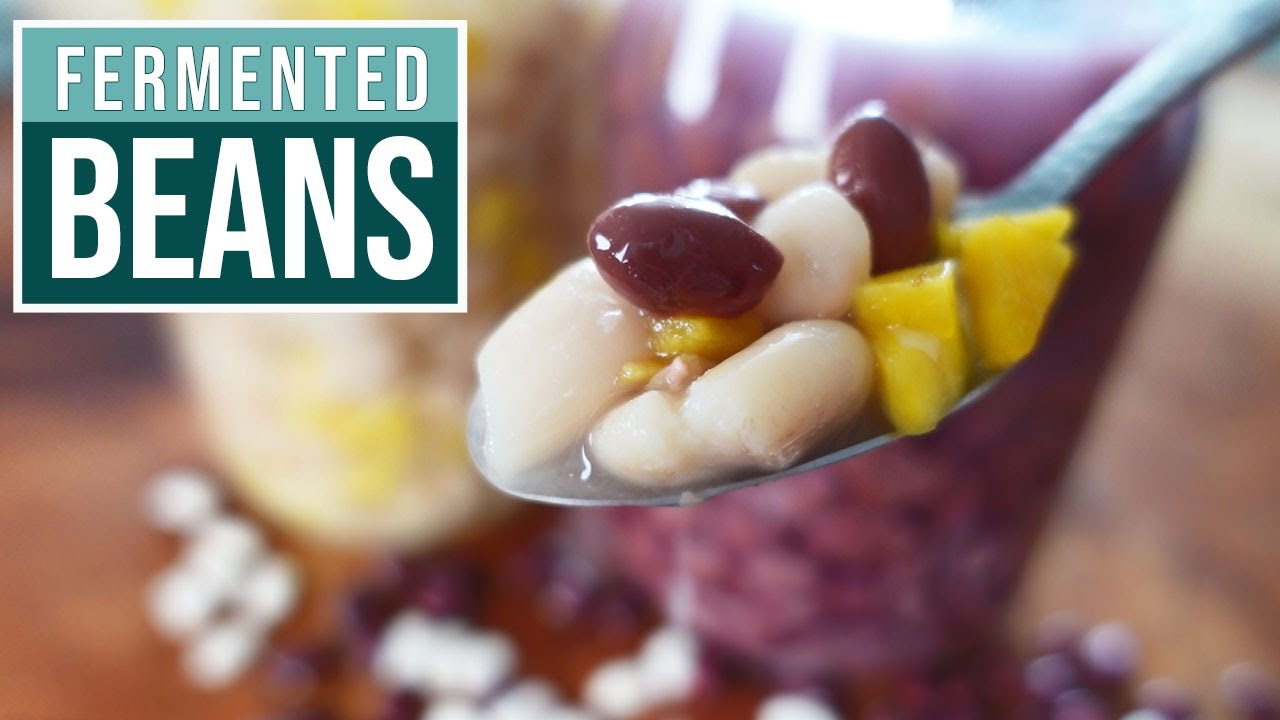
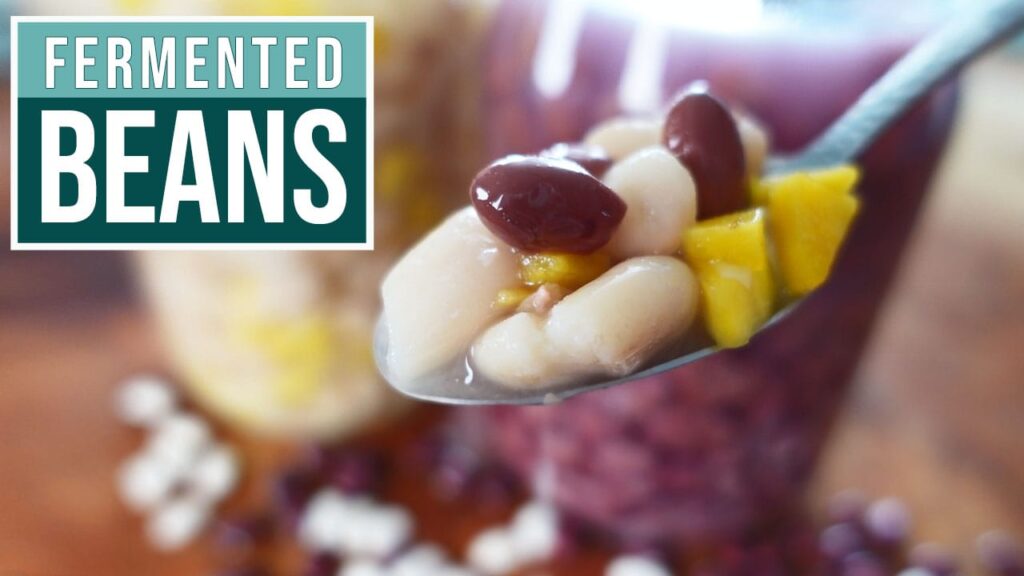
Fermenting Beans: A Probiotic Spin On Beans!
Probiotic fermented beans are so good, you’ll want to make them over and over again!
When we think of fermented foods, yogurt & sauerkraut are usually the first to come to mind. But have you ever considered fermented cooked beans? This unique probiotic-rich bean recipe can transform any kind of cooked bean into a delicious, gut-friendly dish.
Not only do fermented beans offer a tangy and zesty flavor, but they also bring a range of health benefits to your daily diet. In this article, I’ll explore the process of fermenting beans and provide ideas on how to incorporate them into your meals.
Ferment Beans With Me!
Watch the video below for a visual demonstration or continue reading!
The Bean Selection
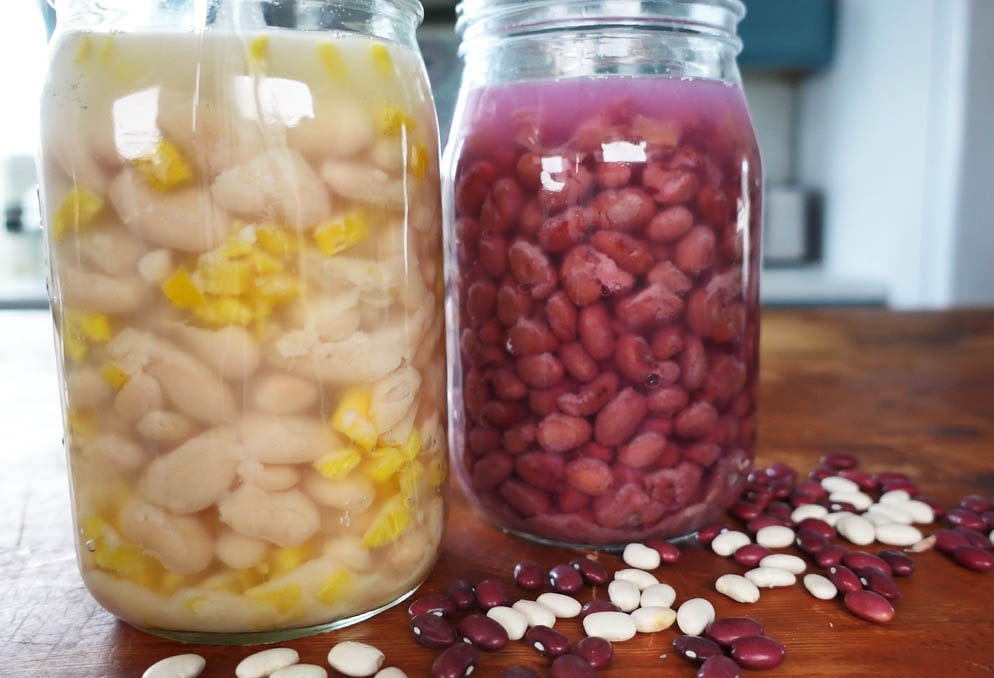
This is a versatile recipe where you can ferment almost any type of cooked bean such as great northern, kidney, chili, cannellini, pinto or turtle.
You can opt to ferment the beans with or without added vegetables. Personally, I have found that adding vegetables helps the fermentation process, but if you opt for no veggies, beans-only still works.
Ingredients:
Beans
The beans will need to cook to the point where the majority of their skins break open. When this happens, the soft interior of the bean is exposed. This allows for the friendly bacteria that are responsible for the fermentation, to feed on the bean innards and do their fermenting job.
If the bean skins are not broke open, then the good bacteria will starve and the fermentation will not take sound hold.
Vegetables
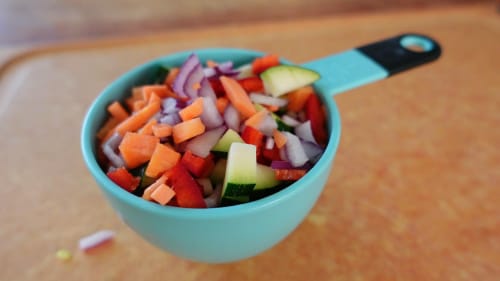
If you decide to add chopped veggies to the bean then here are some ideas: zucchini, bell pepper, carrot, onion and/or cabbage. You can add one or a combination!
Important Note: The veggies need to remain raw for the fermenting process. Do not cook or blanch the vegetables, only the beans are to be cooked.
Starter Culture
Next you will need a liquid starter culture to act as the brine & kickstart the fermentation. Typically the beneficial bacteria that are responsible for fermentation, are naturally present on the skins of raw foods. Because the beans are cooked, they do not have the needed good bacteria to initiate fermentation. That’s why a starter culture is needed.
Here are a couple of liquid starter culture options to choose from:
Option 1: Kombucha
Kombucha is a great starter culture because it’s easy to obtain from any grocery store and contains millions of good microbes that will be more than happy to ferment the beans!
You can use plain kombucha bought from a store or your own home brew if you’re a kombucha maker.
Option 2: Fermented Vegetable Brine
Are you a vegetable fermenter? Perhaps you have some left over sauerkraut brine or brine from another ferment such as fermented carrots, fermented onions or fermented kale.
- Use the left over fermented vegetable brine as the starter culture for the beans.
Just in case it crossed your mind, adding vinegar to the beans will not work. Vinegar is not a starter culture and will not initiate a fermentation. It will rather pickle the beans, but not ferment them.
Salt
Any type of salt can be used with fermentation such as sea, kosher, Himalayan, etc. However, make sure the salt does not contain anti-caking agents since those chemicals can interfere with fermentation. Read the label of the salt and make sure it reads salt and nothing else.
Instructions:
Step 1: Cook the Beans
Cook the beans of your choice until the the skins have split. They should be quite tender, but not mush.
Since this is not a ‘how to cook beans’ article, I will not be providing instructions on how to do so, but rather pick up on how to ferment the beans once cooking has taken place. You can find ample videos and articles online that will provide cooking instructions when you do a Google search.
Step 2: Prepare the Beans For Fermentation
To encourage fermentation, it’s essential to break or crack open the outer skin of the beans if they did not split during cooking. This allows the starter culture’s microbes to penetrate the starch inside the beans which will serve as their food source.
If needed, you can gently break them open with your hands or a fork without mashing them. FYI: If the skins aren’t split open, the probiotics will not be able to do their fermenting job and the fermentation process will fail.

Step 3: Add Vegetables
If you are going to add vegetables to your beans (recommended) prepare the vegetables by chopping them into small pieces. Here are some veggie suggestions that work well with this recipe: zucchini, red onion, bell pepper, carrot, garlic, green onion, radish, leek, and cabbage.
Once chopped, combine the raw vegetables with your well-cooked beans in a large bowl. Use a spoon or your clean hands to mix everything together.

Step 4: Prepare The Fermenting Vessel
Wash a quart or liter size jar with hot soapy water. There is no need to sterilize the jar, hot & soapy water is sufficient.

Step 5: Load The Jar
Pour the bean mixture into the glass jar. I have found a canning funnel to be helpful because it prevents spills during loading. Leave about a 3-inch headspace as to make sure there is enough room for the liquid starter culture and fermenting weight that will be added next.

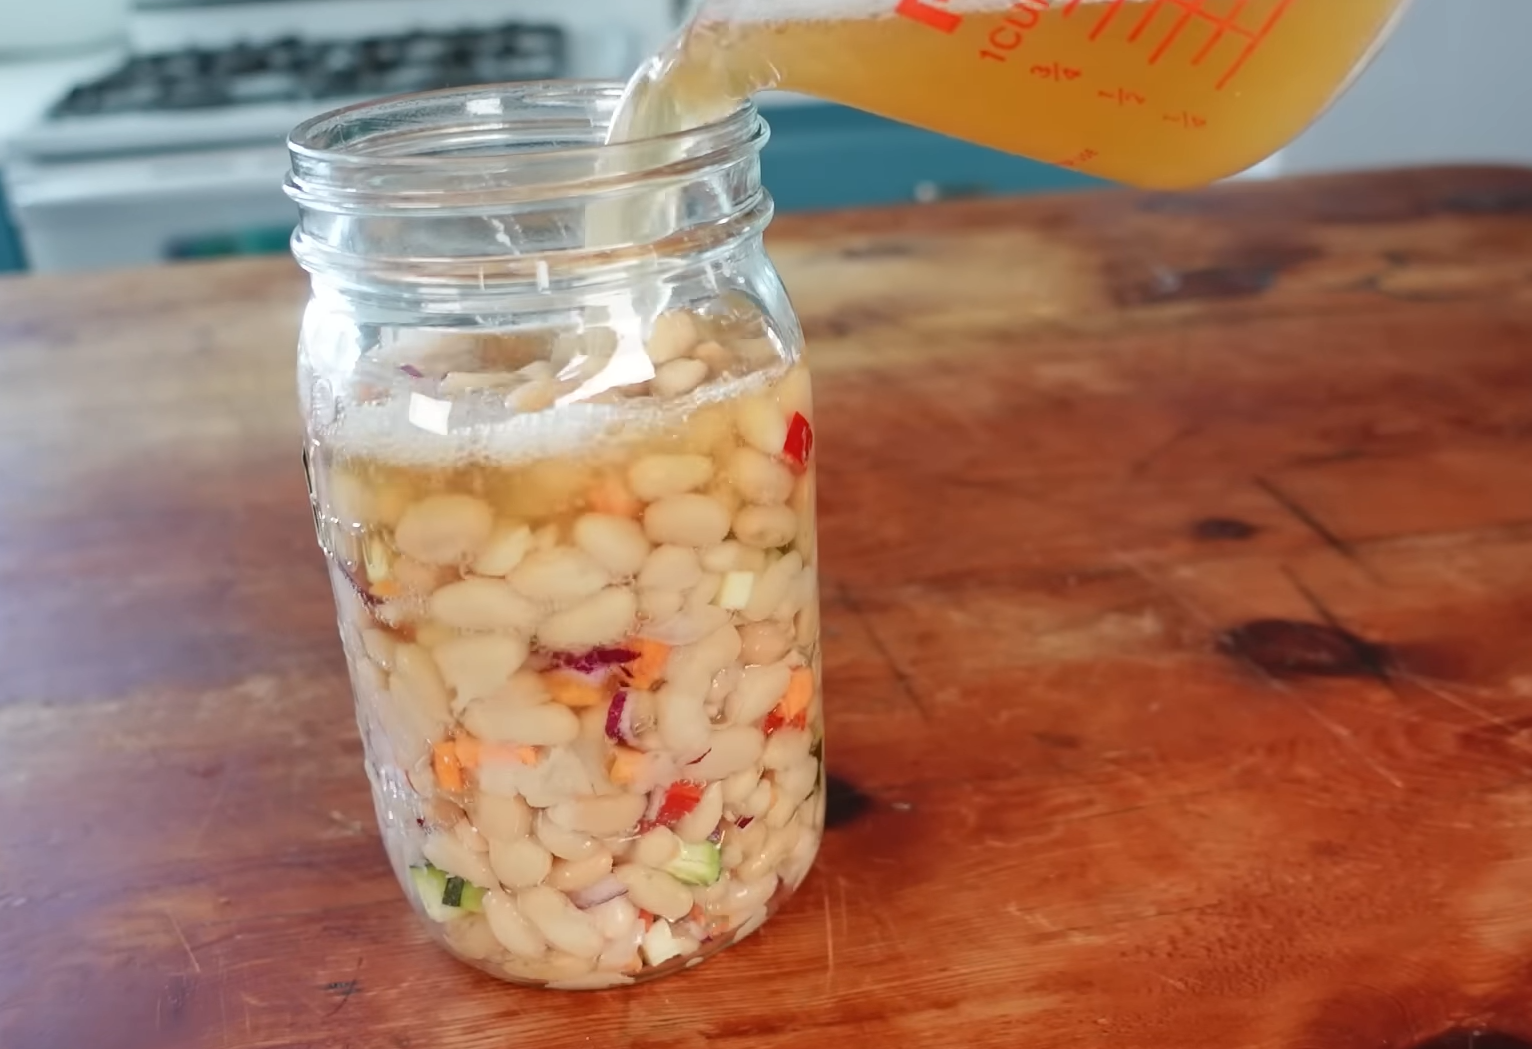
Step 6: Add The Starter Culture & Salt
First pour the kombucha or fermented vegetable brine into a pourable measure cup. Next, add the salt to the liquid. If using kombucha, expect the beverage to fizz up for a moment. But don’t worry, in a few seconds, the bubbles will calm down.

Now pour either the kombucha or the fermented vegetable brine over the bean mixture, filling no higher than the base of the jar threads.
Step 7: Add The Fermentation Weight
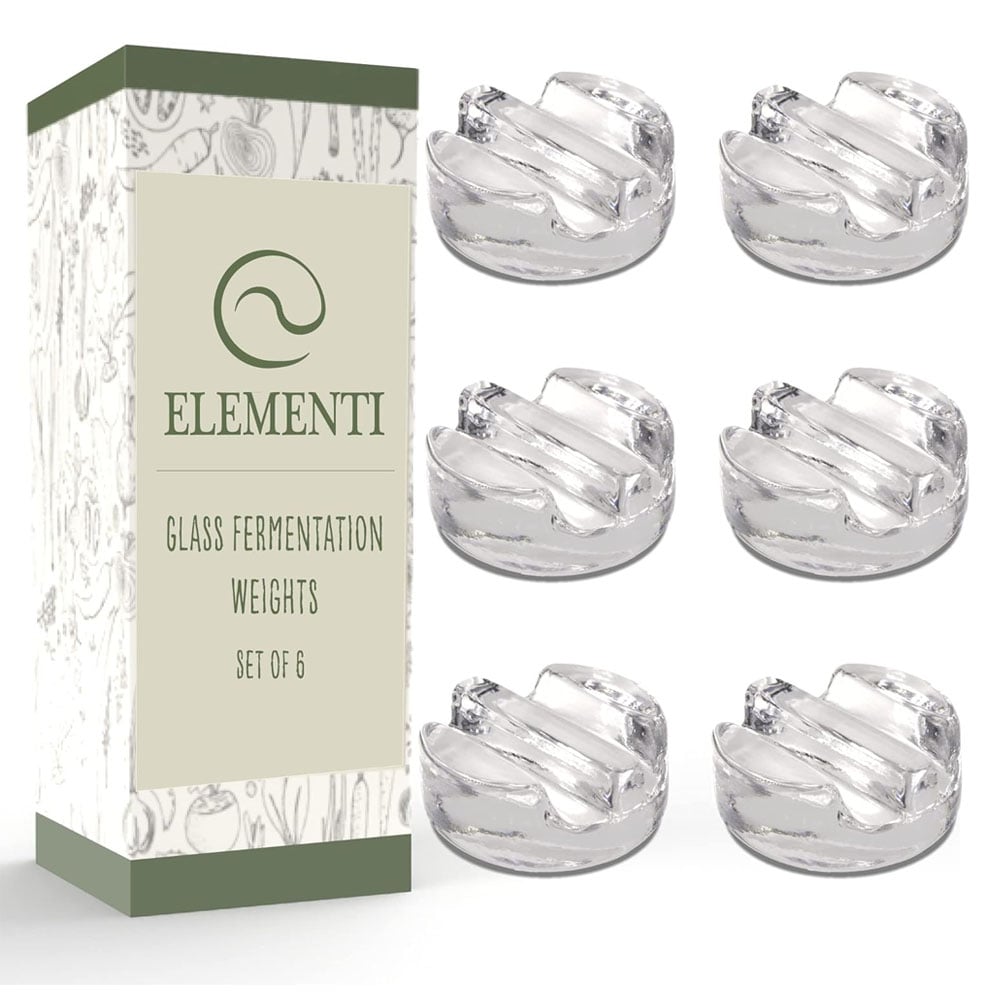
Place a glass fermentation weight atop everything in the jar. This will hold all the contents beneath the liquid starter culture that is also doubling as the brine.
Remember to wash the fermenting weight in hot soapy water before use!

Notes About The Fermenting Weight
When fermenting foods it’s essential that the food remains submerged beneath the brine for the sake of food safety. (In the case of these fermenting beans, the liquid starter culture is doubling as the brine.)
These are the glass fermentation weights I recommend and personally use. They are lead free and heavier than other glass fermenting weights I have used in the past. The heavier, the better!
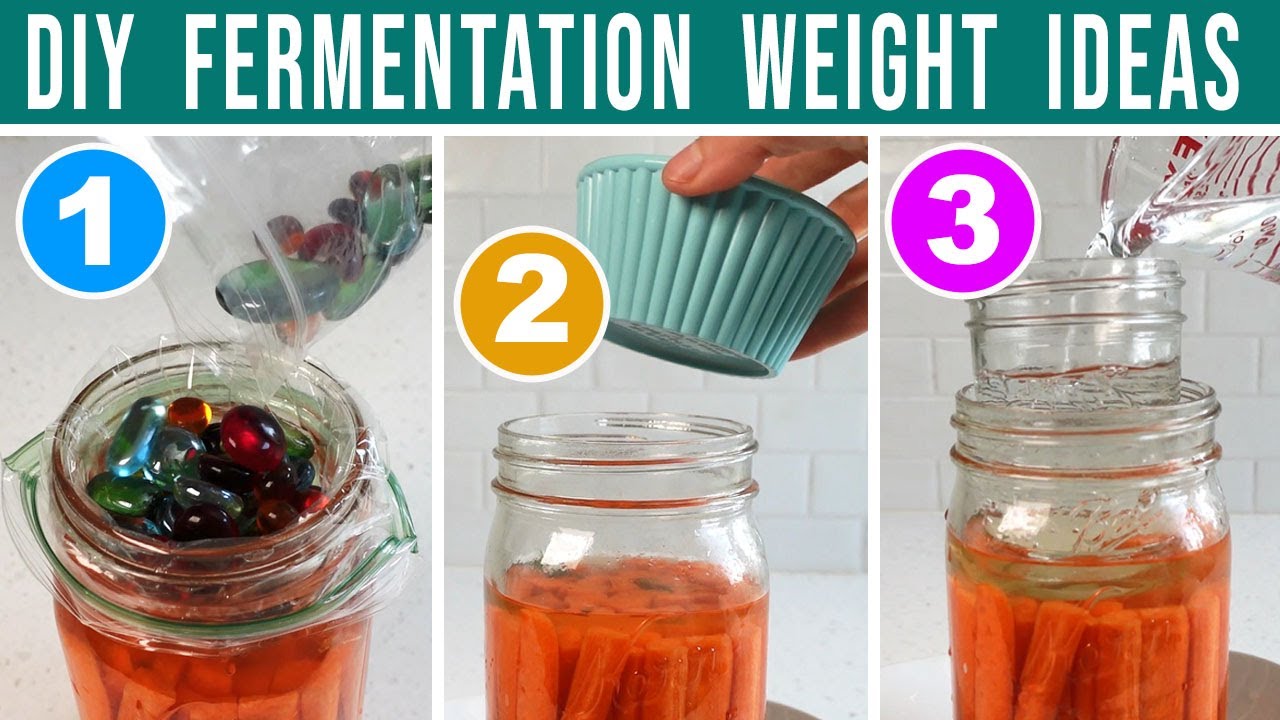
If you do not have glass fermenting weights, watch my video below on DIY Fermentation Weight Ideas. Or watch on YouTube.
Step 8: Ferment The Beans
Cover the jar with a loose lid. So long as the lid is loose and not tight, the fermentation gasses will be able to escape & there will be no need to burp the jar.
Leave the beans on the counter at room temperature for 4 to 5 days. Regular room light is just fine, but it is best to keep the ferment out of direct sunlight.

Kahm Yeast & Ending The Fermentation
During the fermentation period, it’s common to see the development of kahm yeast typically between days 3 to 5. While this yeast may look ugly, it is harmless and does not indicate that the beans are spoiled nor unsafe to eat.
To end the fermentation, open the jar and remove the fermentation weight.
If the beans have kahm yeast on the surface, the removal of the fermenting weight will take with it most of the kahm yeast.
Then follow up with a paper towel to dab off the remaining flakes floating on the surface and also wipe out the inside of the jar. A little leftover kahm yeast is harmless so don’t worry about it.
PS: In my Fermented Beans video, I provide a demonstration of how to remove the kahm yeast if you would like to watch how it’s done.

Storage
To store, do not return the weight to the jar and transfer the fermented beans to the refrigerator with a tight lid. On average, they will last 2 to 3 months in the refrigerator.
Is My Fermentation Safe To Eat?
This is the #1 question from fermenting newbies and is an important topic to cover. Below are the 4 safety check points to follow to ensure your fermented food is safe to eat.
- Sight: When you open the jar, inspect the onions for any mold. If there is none, move on to the next check point.
- Smell: Put your nose up the the jar and take a whiff. A healthy fermentation should have a light soury-sweet smell, never foul or offensive.
- PH: Take a PH reading with either a digital meter or paper test strips. A safe fermentation has a PH below 4.5.
- Taste: If the above points all pass, it’s time to take a taste! The onions should taste pleasant (even delicious) and never foul or rotten.
Click here to view or print my 4-point checklist:

Troubleshooting
Occasionally fermentations result in failures. Don’t feel discouragement since even experienced fermenters have the occasional failure. Experiment, learn, and adjust your process as needed.
If you encounter issues, consider the following:
- Ensure you’ve used an adequate amount of starter culture.
- Don’t skip adding the salt; it’s crucial for the fermentation process.
- Use salt without added anti-caking agents.
- Make sure that the majority of bean skins are broke open or split.
- If veggies were not added, try doing so with the next batch of beans. The vegetables can help aid the fermentation process.

Incorporating Fermented Beans Into Your Meals
Now that you’ve successfully fermented the beans, you might be wondering how to enjoy them. Fermented beans can be a delicious and versatile addition to your meals. Here are some ideas:
Cooked Rice
– Add a couple of spoonfuls over cooked rice.
Baked Potato
– Top a loaded baked potato.
Salad
– Sprinkle them over a salad.
Sandwich Spread
– Mash them up with little brine added to create a zingy sandwich spread.
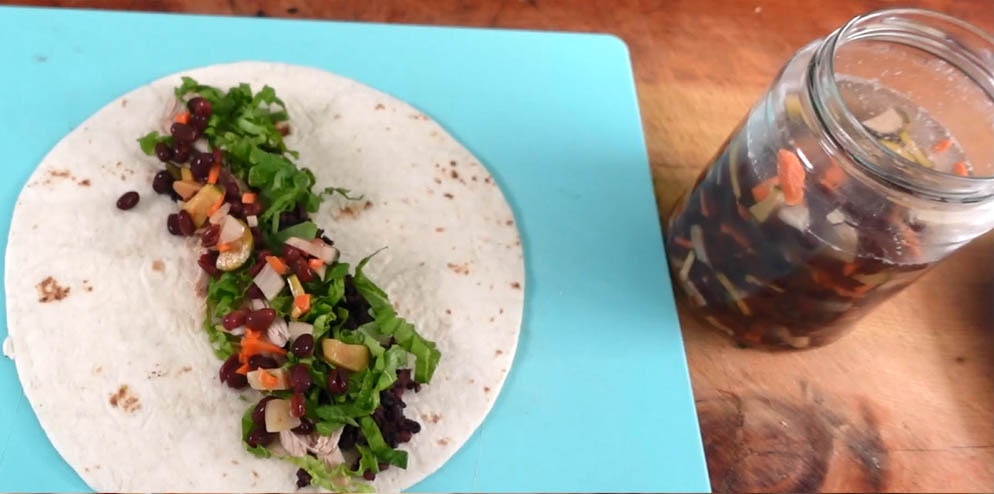
Tacos & Burritos
In the photo below, I’m making my favorite loaded burrito. In addition to adding fermented beans, I also add fermented onions and fermented corns salsa for an incredible blend of flavors! I enjoy adding chicken breast to my burrito, but if you’re vegan, try some grilled eggplant instead… YUM!
Reminder!
Heating the beans after fermentation will kill the probiotics, so it’s best to enjoy them without re-heating or cooking. Therefore if the fermented beans are to be added to a cooked dish, I recommend adding them after the cooking has taken place.
Summing Up…
Fermented cooked beans are not only a flavorful addition to your meals but also a fantastic source of probiotics. Incorporating these fermented beans into your diet can enhance your gut health and add a zesty twist to your favorite dishes.
So, get creative in the kitchen and enjoy the benefits of homemade fermented beans!

Fermented Beans
Equipment
- 1 Quart/Liter Jar
- 1 Glass Fermenting Weight If you don't have a glass fermenting weight, watch my video on DIY alternatives provided on my website or YouTube channel.
- 1 Lid A regular lid will work. Optionally, you can use a specialty fermenting lid.
Ingredients
There Are 2 Versions To Choose From:
1. Beans Only Version
- 3.5 cup Cooked Beans Only Bean Ideas: kidney, great northern, turtle, navy, red chili, chickpeas, etc.
- 1 cup Liquid Starter Culture See Below for liquid starter culture options
- ¾ cup Water Optionally, you can replace the water with more liquid starter culture if you have plenty.
- ½ tsp Salt Use a salt that does not contain anti-caking agents.
2. Beans & Veggies Version
- 2.5 cup Cooked Beans Bean Ideas: kidney, great northern, turtle, navy, red chili, chickpeas, etc.
- 1 cup Raw Chopped Vegetables Suggestions: carrots, bell peppers, leeks, onions, zucchini, or cabbage. Use one or a combination.
- 1 cup Liquid Starter Culture See Below for liquid starter culture options
- ¾ cup Water Optionally, you can replace the water with more liquid starter culture if you have plenty.
- ½ tsp Salt Use a salt that does not contain anti-caking agents.
Liquid Starter Culture Option #1 KOMBUCHA
Liquid Starter Culture Option #2 FERMENTED VEGETABLE BRINE
Instructions
Prepare The Beans
- Cook the beans of your choice until the the skins have split. They should be quite tender, but not mush.
- If the beans didn't split during cooking, you can gently break the beans open with your hands or a fork. Be careful not to mash them. FYI: If the skins aren’t split open, the probiotics will not be able to feed on the inner starch of the bean and the fermentation process will fail.
Prepare The Vegetables (optional)
- If you are adding vegetables: Chop up the vegetables and add to a large bowl.
- Add the beans to the veggies in the bowl and mix everything together without mashing the beans. If you want to ferment beans only, then skip this step.
Prepare The Jar & Weight
- Wash the jar and fermenting weight in hot soapy water. Sterilization is not required, hot & soapy water is sufficient.
Load The Jar
- Fill the jar with the bean mixture. NOTE: Make sure the beans have cooled to room temperature first.Then while holding the jar with one hand, bump its bottom end with your other hand to settle the beans until there is about a 3 inch (5-6cm) headspace.
- Add a glass fermenting weight atop everything in the jar.Set the jar down and next prepare the liquid starter culture that will also double as the brine.
Prepare The Liquid Starter Culture
- Pour your choice of liquid starter culture into a pourable glass measure cup.
- Add the salt to the starter culture. Stir the salt until dissolved.
- Add the water to the liquid starter culture. Optionally, you can replace the water with more vegetable brine or kombucha if you have plenty.
- Pour the liquid starter culture into to the jar until all the contents and the fermenting weight are covered.
The Fermentation Period
- Leave the beans on the counter at room temperature for 4 to 5 days. So long as the lid is loose, the fermentation gasses will be able to escape and you will not need to burp the jar.
- Exposure to regular room light is fine, but it is best to keep the ferment out of direct sunlight.
Ending The Fermentation
- After the fermentation period of 4 to 5 days, it is time to end the fermentation.If kahm yeast developed on the surface of the beans, do not worry, it is harmless.
- You can remove the kahm yeast by first reaching into the jar and pulling out the fermenting weight. The removal of the weight will take with it most of the kahm yeast.Follow up with a paper towel to dab off the remaining kahm yeast flakes floating on the surface. Also wipe the inside of the jar with the paper towel A little leftover kahm yeast is harmless so don't worry if there are remnants. In my Fermented Beans video, I provide a demonstration of how to remove the kahm yeast.
Storage
- Do not return the fermenting weight to the jar. Place a tight lid on the jar of fermented beans and transfer to the refrigerator for storage. If the beans fermented properly, they should last about 2 months in the fridge.Enjoy!
Video
Notes
To determine if the fermentation is good, smell the beans starting on day 3 up until the day you place them in the fridge. A healthy fermentation should have a light soury-sweet smell. This means the beneficial, probiotic bacteria are dominating and a successful fermentation is taking place. If a foul/stinky odor develops then that means the beans are being taken over by bad bacteria and are not properly fermenting. Throw away the beans if they have a foul stench. PH By day 3 or 4 the PH should drop below 4.5 on the PH scale. (In my home this usually takes 4 days, but can be sooner in other homes.) Take a PH reading with either paper strips or a digital meter. If the PH has not dropped by day 5 to a PH below 4.5, then it probably won’t. For some reason, the fermentation failed. Watch the video to review troubleshooting questions.
Citations
<1> WebMD. (n.d.). Carrots: Health benefits, nutrients, and more. WebMD. https://www.webmd.com/diet/health-benefits-carrots
<2> Norris, T. (2018, September 29). Probiotics and digestive health: Benefits, risks, and more. Healthline. https://www.healthline.com/health/probiotics-and-digestive-health
More Recipes …

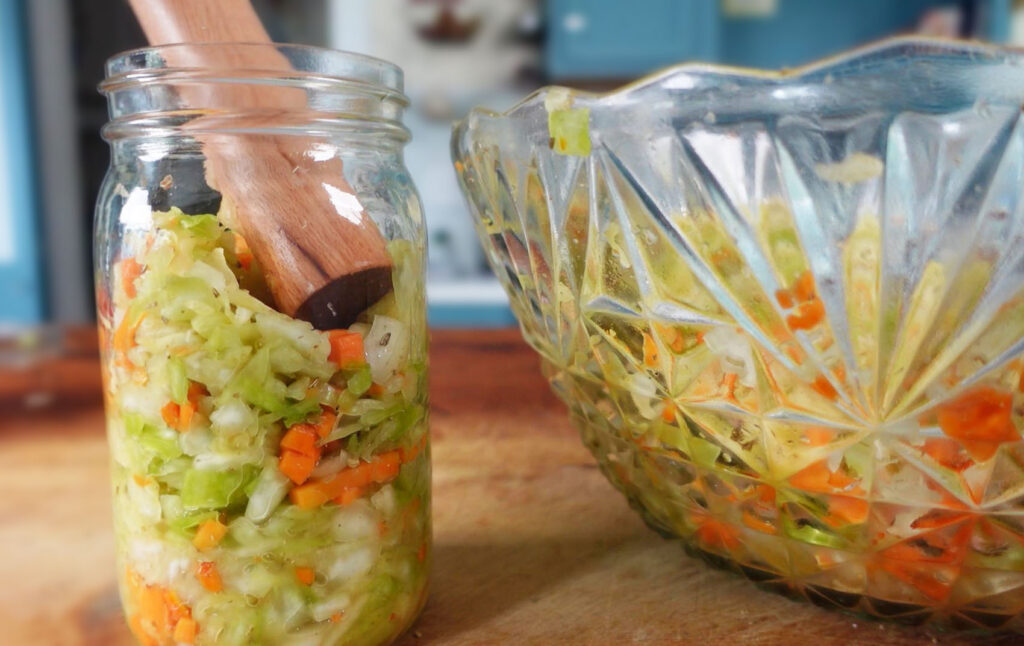
Fermented Carrot Salad
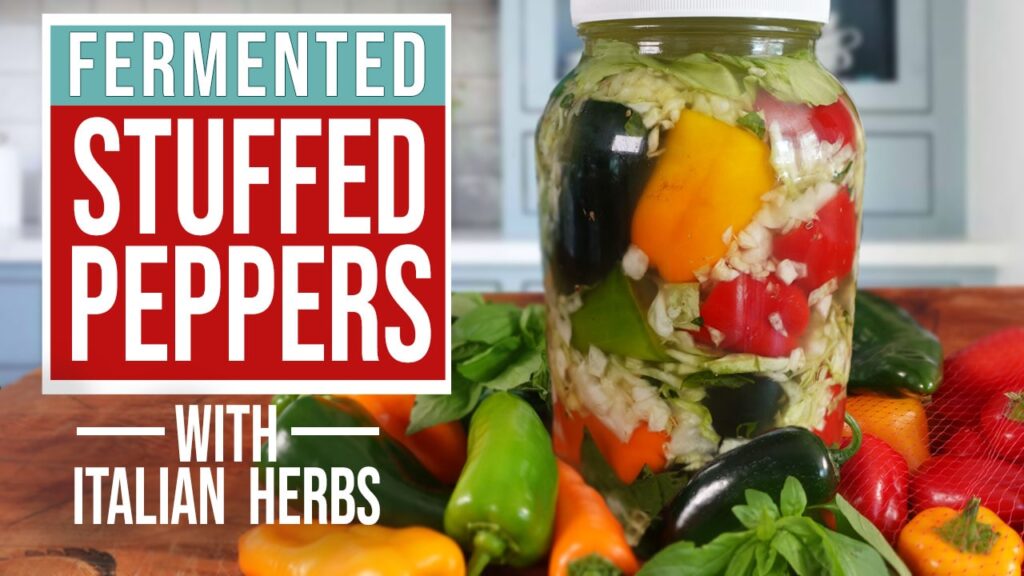
Stuffed Fermented Peppers
Fermented Beans
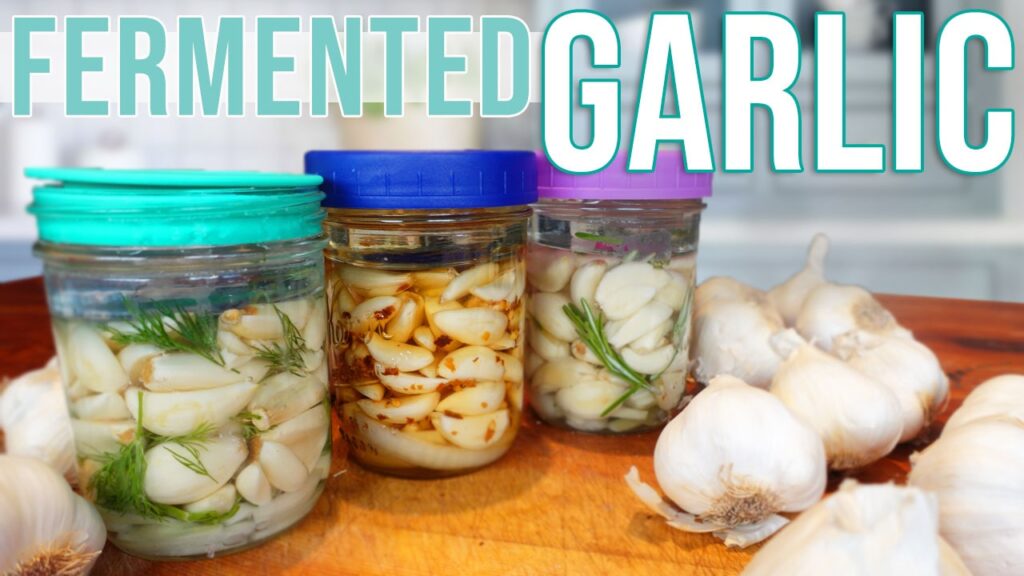
Fermented Garlic
Sauerkraut Masterclass