This “Fermented Zucchini Relish” post contains affiliate links. Please read my affiliate disclosure.
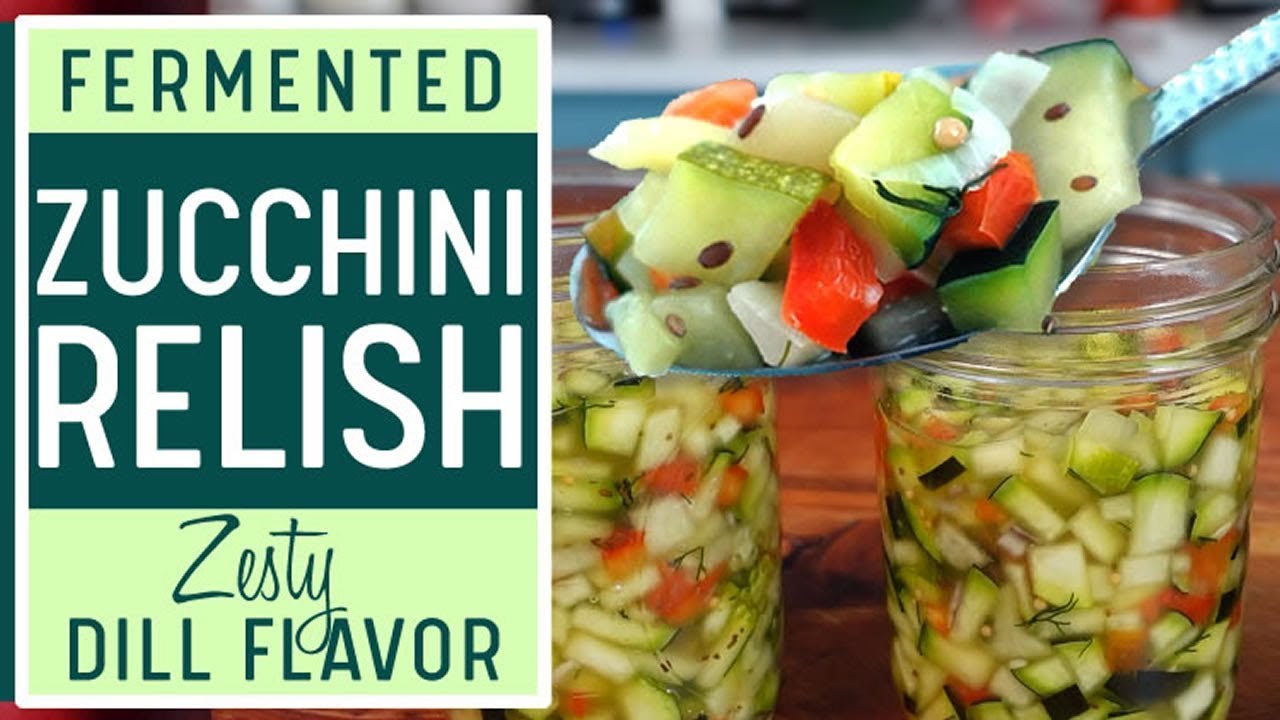
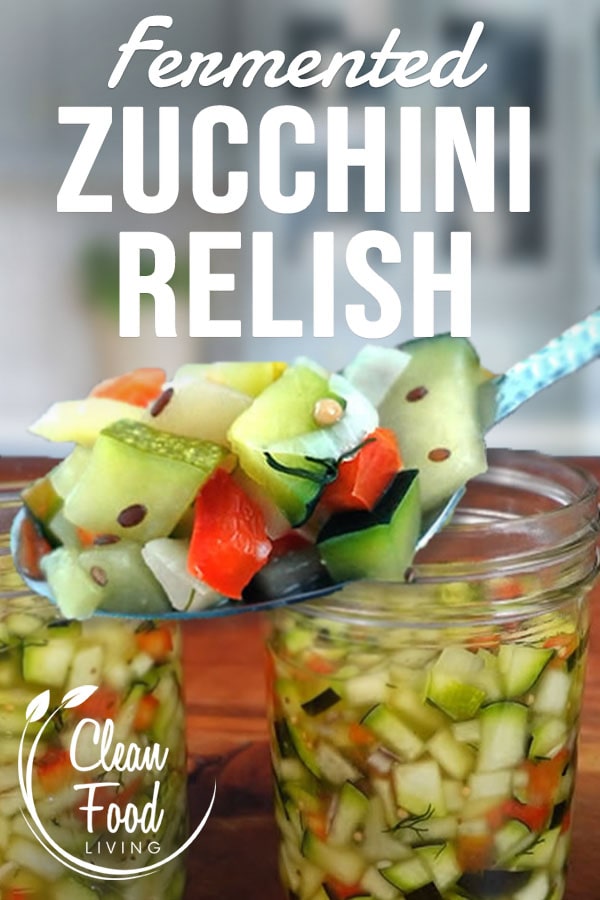
How To Make Fermented Zucchini Relish: A Garden Probiotic Delight
If you’re a fan of homemade condiments and want to add a healthy twist to your meals, you’re in for a treat! Fermented Zucchini Relish is a garden-fresh, dill-infused delight that’s not only a taste sensation but also contains gut healthy probiotics due to the fermentation process.2
The Benefits of Zucchini
Before we delve into the delicious details of Fermented Zucchini Relish, let’s take a moment to appreciate the humble zucchini and its health benefits. Did you know that when you ferment vegetables, you’re unlocking even MORE vitamins & minerals to be absorbed by your body since fermentation improves nutrient bio-availability? It’s true!
1. Nutrient-Rich:
Zucchini is packed with essential vitamins and minerals, including vitamin C, vitamin A, potassium, and folate.1
2. High in Fiber:
Zucchini is a good source of dietary fiber, which aids in digestion and supports a healthy gut.1
3. Antioxidant Properties:
Zucchini contains antioxidants like carotenoids and phenolic compounds, which help combat oxidative stress in the body.1
4. Hydration:
With its high water content, zucchini contributes to overall hydration, especially during hot weather.
Make Zucchini Relish With Me!
If you are visual learner, watch the video below where I demonstrate each step of the process as well as provide helpful tips.
Fermented Zucchini Relish Recipe
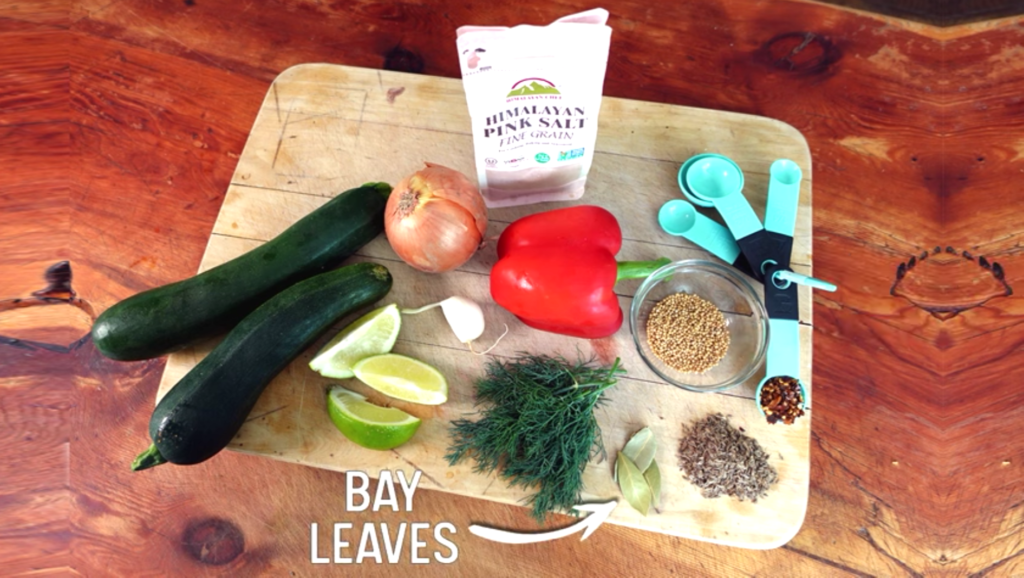
Ingredients:
Zucchini
Zucchini, a versatile summer squash, serves as the main ingredient in this fermentation recipe. With a mild flavor and high water content, zucchini contributes to the overall texture and moisture of the final product.
Natural Salt
Salt plays a crucial role in the fermentation process by inhibiting the growth of harmful bacteria while promoting the growth of beneficial lactic acid bacteria. This preservation method has been employed throughout history.
Red Bell Pepper
Red bell pepper add vibrant color and a sweet, crisp flavor to the ferment. Rich in vitamins and antioxidants, bell peppers enhance both the nutritional profile and taste of the final product.
Onion
Onions provide a savory and slightly sweet flavor to the fermentation mix. Throughout history, onions have been valued for their culinary versatility and health benefits. They add depth to the overall taste and contribute to the complex flavor profile of fermented foods.
Garlic
Garlic, known for its distinct aroma and pungent taste, has been used in fermentation recipes for centuries. It not only imparts a robust flavor but also offers potential health benefits due to its antimicrobial properties.
Fresh Dill
Fresh dill contributes a burst of herbal freshness to the ferment. Dill has a long history of use in pickling and fermentation, dating back to ancient times. Its unique flavor profile complements the other ingredients and adds a traditional touch to the recipe.
Dill Seed
Dill seeds, derived from the same plant as fresh dill, intensify the dill flavor in the ferment. Crushed or ground dill seeds release their aromatic oils, enhancing the overall sensory experience of the fermented dish.
Mustard Seed
Whole mustard seeds bring a mild, earthy spice to the mix. Mustard seeds have been employed in fermentation recipes for centuries, adding depth and complexity to the flavor profile. They also act as a natural preservative.
Lime
Lime wedges provide a citrusy acidity, brightening the overall flavor of the ferment. Citrus fruits, like limes, have been historically used for their acid content to preserve and enhance the taste of fermented foods.
Red Pepper Flakes
Red pepper flakes, if added, contribute heat and a touch of spiciness to the ferment. Spices have been utilized in fermentation not only for flavor but also for their potential antimicrobial properties. If you are not a fan of spicy hot, simply omit it!
Bay Leaves
Bay leaves lend a subtle, aromatic quality to the fermentation mix. Throughout history, bay leaves have been valued for their fragrance and ability to enhance the overall bouquet of preserved foods.
Instructions
Step 1: The Zucchini
Chop the zucchini and add to a large mixing bowl.

Step 2: The Salt
Sprinkle the salt over the chopped zucchini and mix it in. The salt will draw out the zucchini’s natural juices, forming a brine.

Step 3: The Other Ingredients
- Mix in the red bell pepper, onion and garlic.
- Chop up a handful of fresh dill and add it to the mixture.
- Add the crushed/grinded dill seeds, whole mustard seeds, and red chili flakes (optional).
- Squeeze the juice of the lime wedges into the mixture.
- Mix everything together.

Step 4: Massage The Ingredients
With clean washed hands, gently massage the ingredients for about 5 minutes to encourage the zucchini to release more natural juices.
This recipe does not add a separate, handmade saltwater brine. Rather it utilizes the natural juices released by the zucchini incorporated with the salt. In other words, the zucchini is making its own natural brine.
The mixture should become very juicy with a large accumulation of liquid forming in the bowl.


Step 5: Prepare The Fermentation Equipment
Wash the jars and fermenting weights with hot soapy water. Sterilization is not required, washing in hot, soapy water is sufficient.

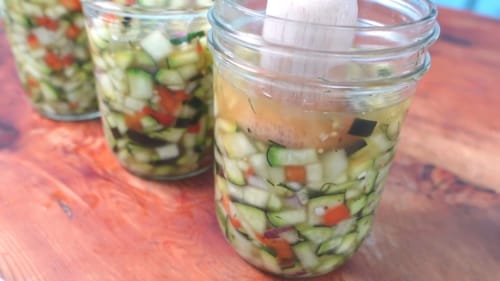
Step 6: Load The Jar
- Load a scoop or two of the zucchini mixture into the jars. Make sure to include the brine with the vegetable scoops. FYI: using canning funnel is helpful to prevent spills.
- With a tart tamper or mallet, gently press the mixture down, pushing out any air gaps.
- Repeat with another scoop of the zucchini mixture.
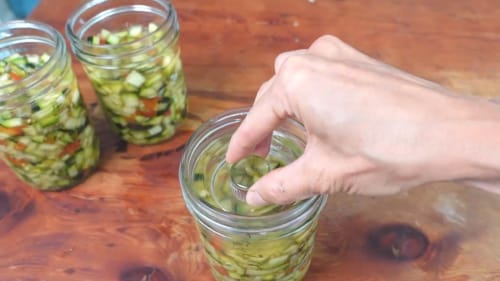
- Once the jar is relatively full, insert the bay leaf into the mixture. Then press down again with the tamper to push out any remaining air gaps.
- Leave about a 1.5 to 2 inch (3-5 cm) of space headspace.

Step 7: The Fermentation Weight
Add the fermenting weight to the jar and press it down. Make sure all the ingredients are submerged beneath the brine because the brine protects the food from harmful pathogens & mold.
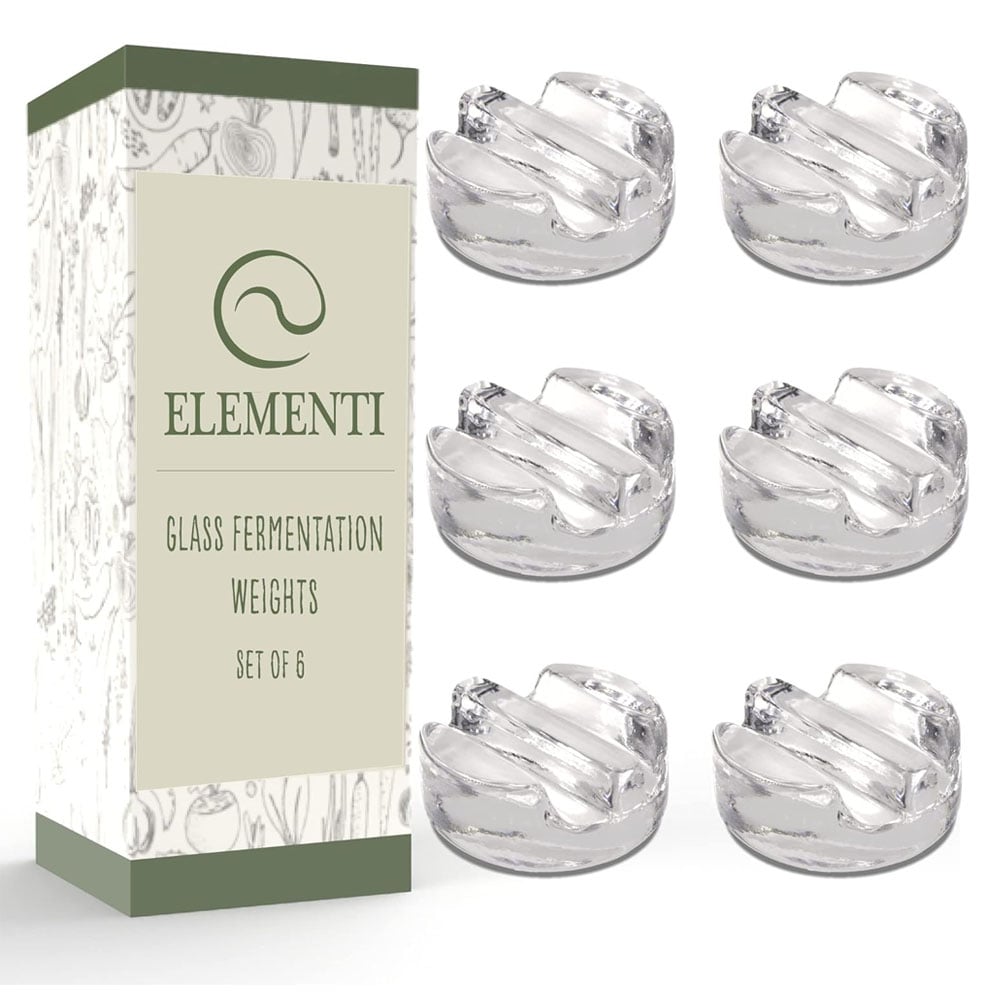
Notes About The Fermenting Weight
When fermenting foods it’s essential that the food remains submerged beneath the brine for the sake of food safety. These are the glass fermentation weights I recommend and personally use. They are lead free and heavier than other glass fermenting weights I have used in the past. The heavier, the better!
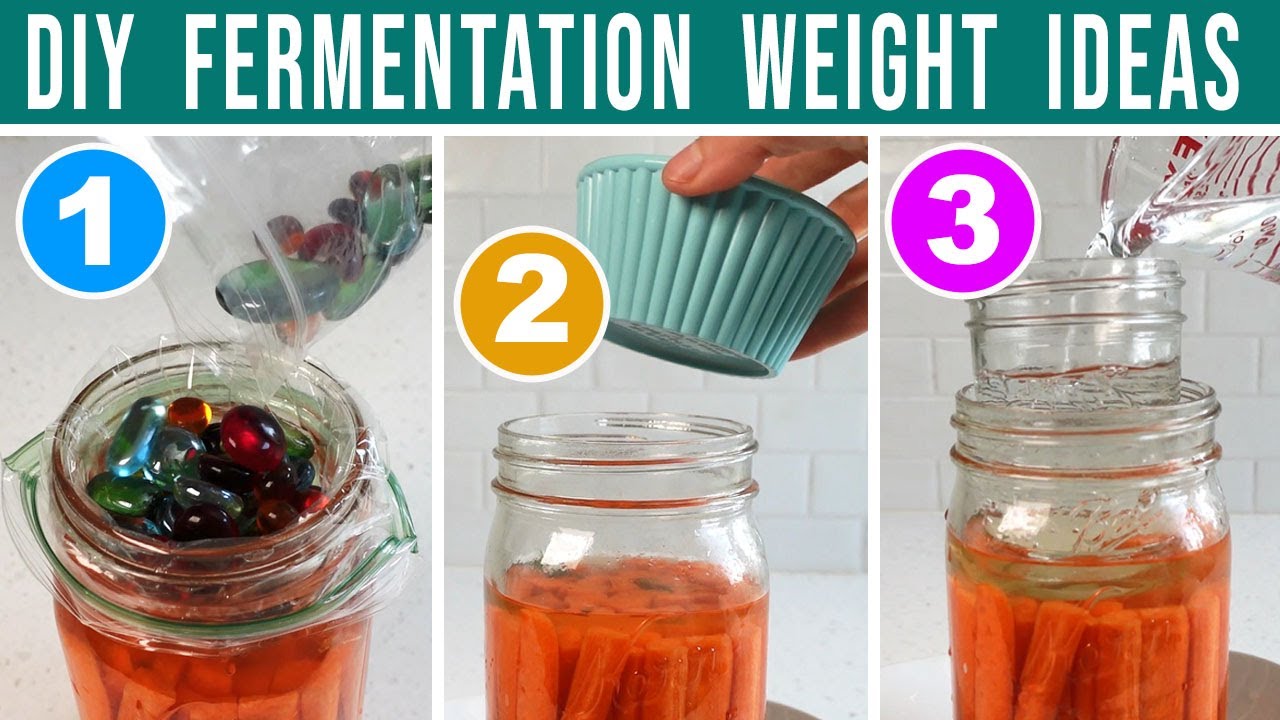
If you do not have glass fermenting weights, watch my video below on DIY Fermentation Weight Ideas.
Step 8: The Fermentation Period
Place a loose lid on the jar and allow the zucchini relish to ferment on the countertop for 3 to 7 days.
Lid alternatives include a paper towel secured with a rubber band or a coffee filter secured with a jar ring.

Step 9: Ending The Fermentation & Storage
On day 3, take a taste test to see how the flavor is developing. If you feel the flavor is perfecto, then remove the weight, put the lid on tight and transfer to the refrigerator (or start eating right away)!
Once placed in the refrigerator, the fermented zucchini relish will last about 2 weeks,
If you want the flavor to continue mellowing & evolving, then allow zucchini relish to further ferment on the counter for 3 to 4 more days (but no longer or it will become too sour). Taste test the zucchini relish every day to monitor how those flavors are coming along. Once it tastes perfect to your palate, end the fermentation by following the instructions given above.

Is My Fermentation Safe To Eat?
This is the #1 question from fermenting newbies and is an important topic to cover. Below are the 4 safety check points to follow to ensure your fermented food is safe to eat.
- Sight: When you open the jar, inspect the onions for any mold. If there is none, move on to the next check point.
- Smell: Put your nose up the the jar and take a whiff. A healthy fermentation should have a light soury-sweet smell, never foul or offensive.
- PH: Take a PH reading with either a digital meter or paper test strips. A safe fermentation has a PH below 4.5.
- Taste: If the above points all pass, it’s time to take a taste! The onions should taste pleasant (even delicious) and never foul or rotten.
Click here to view or print my 4-point checklist:

Creative Ways to Use Fermented Zucchini Relish
Now that your homemade Fermented Zucchini Relish ready, let’s explore some delightful ways to incorporate it into your meals:
1. Burger Bliss:
Elevate your burger experience by swapping out traditional relish with Fermented Zucchini Relish. Its tangy and zesty flavors will enhance every bite.
2. Sandwich Sensation:
Spread this relish on sandwiches for a burst of flavor and a probiotic punch. You can see one of my favorite energy sandwiches made with fermented hummus here.
3. Salad Stardom:
Add a spoonful of Fermented Zucchini Relish to your salads to give them a refreshing twist.
4. Appetizer Upgrade:
Use it as a condiment for cheese platters or charcuterie boards to impress your guests with a unique and healthy dip.
5. Veggie Delight:
Add it into vegetable wraps or rolls for an extra layer of taste and gut-friendly goodness.
Summing Up…
Incorporating Fermented Zucchini Relish into your meals not only elevates their taste but also contributes to your overall well-being by providing the benefits of probiotics and the nutritional value of zucchini.
So, the next time you have an abundance of zucchini from your garden, consider making this delectable Fermented Zucchini Relish. It’s a homemade condiment that’s not just a feast for your taste buds but also a feast for your health. Enjoy experimenting with this versatile relish and savor the delicious results!
Fermented Zucchini Relish
Equipment
- 3 Pint (475 ml) Jars
- 1 Lid per Jar A regular lid will work. Optionally, you can use a specialty fermenting lid.
- 1 Mini grinder for spices (Optional)
Ingredients
- 2 lb zucchini (or 7 cups) diced
- 1 tbsp Salt Use a salt that does not contain anticaking agents.
- ½ cup Red Bell Pepper diced
- ¼ cup Onion diced
- 1 clove Garlic minced
- 1 handful Fresh Dill chopped
- 1½ tsp Dill Seeds fresh ground or crushed
- 1 tsp Mustard Seeds whole
- 3 wedges Lime
- 1-2 tsp Red Chili Pepper Flakes optional
- 3 Bay Leaves whole
Instructions
Prepare The Ingredients
- Dice the zucchini and place in a mixing bowl
- Sprinkle the salt overtop the zucchini, then mix to incorporate
- Add the remaining fresh ingredients into the same bowl with the zucchini & salt
- Place dill seeds into a grinder & grind. Then add to the bowl of ingredients
- Add the whole mustard seeds and red chili pepper flakes (optional)
- Squeeze the lime wedges over the ingredients. Lemon is good that is what you have, but lime is better
- With clean hands, massage all the ingredients together until the zucchini releases juice when squeezed and there is a formation of juicy brine in the bowl.
Load the Jars
- Add 1 to 2 handfuls or scoops to the jar including the juice mixed in. Then use either your fist or a tamper to press the ingredients down as to push out any air bubbles. Repeat.Using a canning funnel to load the jars helps prevent spills.
- After the next round of adding the ingredients to the jar and before packing it down, add the bay leaf by inserting it into the mixture and pushing it in.
- Pour any remaining brine from the mixing bowl evenly into each of the 3 jars.
- Use your fist or mallet to pack down again. The juice should rise above the zucchini mixture when pressing down. Leave about 1.5-2 inches (3-5cm) of jar headspace.
- Add a fermenting weight to help hold the ingredients down.
- Place a loose lid on the jar. If it is kept loose, the fermentation gasses will be able to naturally release without burping the jar.Alternative lids are a paper towel over the jar opening, secured with a rubber band or a coffee filter over the jar opening, secured by a jar ring.
The Fermentation Period
- Place the jars on the countertop at room temperature for a minimum of 3 days.
End The Fermentation & Storage
- Take a taste test starting on day 3 to see how the flavor is developing. If by day 3 you feel the flavor is perfecto, then remove the weight, put the lid on tight and transfer to the refrigerator. Once placed in the refrigerator the fermented zucchini relish will last about 2 weeks,If you want the flavor to continue mellowing & evolving, then allow zucchini relish to continue fermenting on the counter for 3 to 4 more days before transferring to the refrigerator. Taste test the zucchini relish every day to monitor how those flavors are coming along. End the fermentation following the instructions above once it tastes perfect to your palate.
Video
Citations
- Petre, A. (2023, February 1). 12 health and nutrition benefits of Zucchini. Healthline. https://www.healthline.com/nutrition/zucchini-benefits
- Norris, T. (2018, September 29). Probiotics and digestive health: Benefits, risks, and more. Healthline. https://www.healthline.com/health/probiotics-and-digestive-healthhttps://cleanfoodliving.net/product-category/fermenting-gear/
More Recipes …
Fermented Carrot Salad
Stuffed Fermented Peppers
Fermented Beans
Fermented Garlic
Sauerkraut Masterclass