This post “Fermenting Chickpeas into Fermented Hummus” contains affiliate links. Please read my affiliate disclosure.
Fermented Chickpeas: Elevate Any Hummus Recipe To The Next Level of YUM!
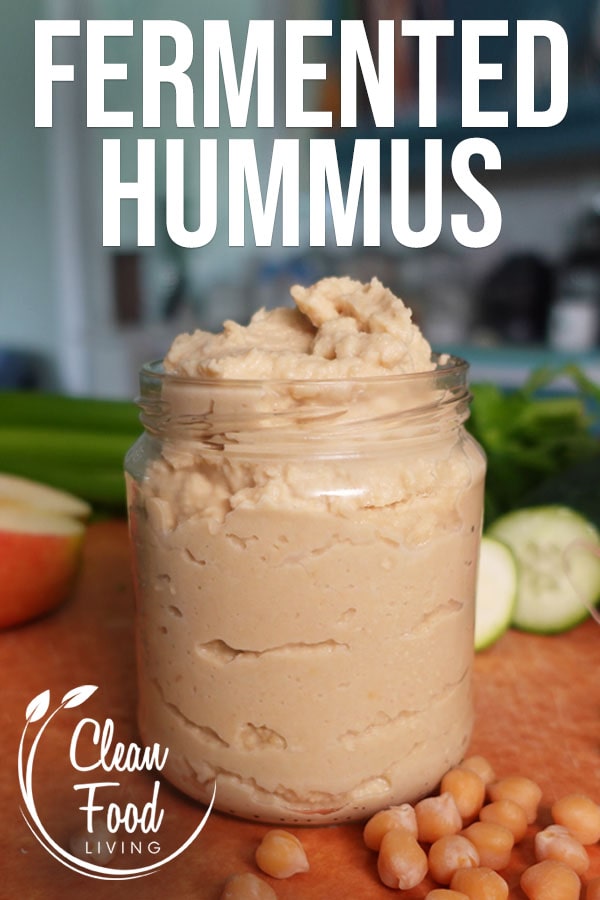
I’ve got something amazing to share with you, the wonderful world of fermented hummus! If you love hummus, then you are going to love how fermenting chickpeas will transform any hummus recipe into out-of-this-world deliciousness!
You already know that chickpeas are a nutritional powerhouse, packed with protein, fiber, and vitamins. But did you know that when you make a hummus recipe from these powerhouse legumes and ferment it, the hummus becomes even better for you.
One of the many benefits of fermentation is that it brings in friendly probiotics, those little guys that are great for your digestive health. Not only do probiotics make your gut happy, but they also help your body absorb all the fantastic nutrients in hummus.
This is because sometimes there are pesky anti-nutrients that can block your body from taking in the good stuff. But fermentation is like a magical process that comes in and breaks down those anti-nutrients so your body can make the most of the nutrients.
Fermenting Chickpeas Into Fermented Hummus
You might be wondering how to make this magic happen. Don’t worry; it’s easier than you think. I’ll walk you through the process step-by-step.👍 And for all you visual learners, watch the video below that accompanies this article.
Section 1: Tips on Fermenting Chickpeas Successfully
Tip #1
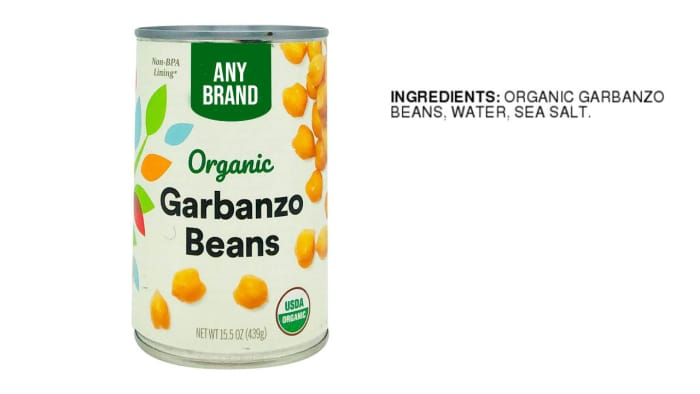
If you’re not going to cook your own garbanzo beans (chickpeas), just be aware that the store bought ones should only have a maximum of three ingredients. Water, Garbanzo Beans, and Salt. Added preservatives will most likely cause the ferment to fail.
Tip #2
Organic canned chickpeas or garbanzo beans are always best since canned food labeled as “organic” don’t have a chemical laden plastic lining that can cause a myriad of sneaky underlying problems.
Tip #3
Any kind of bean or legume, including the chickpeas/garbanzo beans that hummus is made with, aren’t actually able to ferment without some help. This is why you need a starter culture to produce the fermentation. I’ll provide starter culture options in the next section.
Section 2: Starter Culture Options For Fermenting Chickpeas
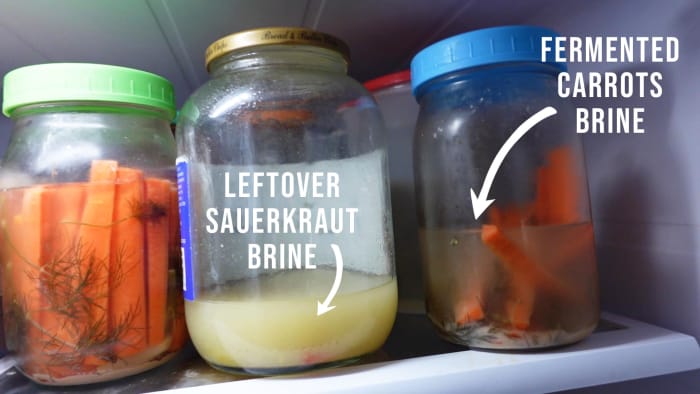
Option #1 – Brine From Vegetable Fermentations
You can use any vegetable fermentation brine from other successfully fermented foods. For example, the brine from kimchi, fermented carrots, sauerkraut, etc.
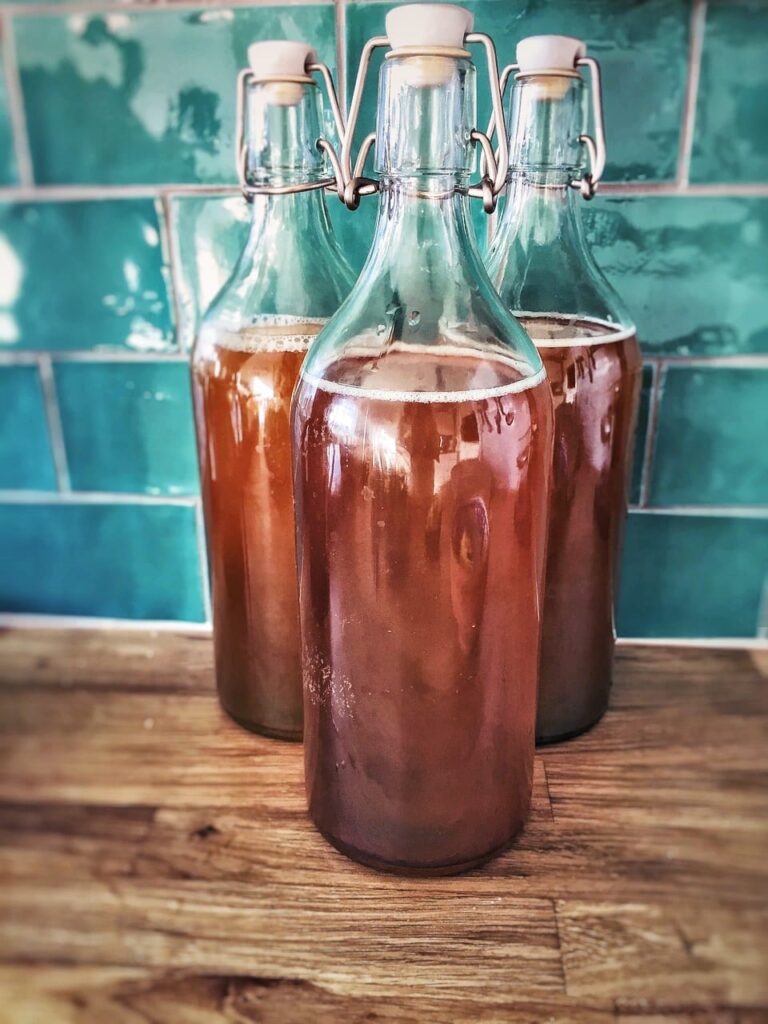
Option #2 – Kombucha
Kombucha is loaded with active probiotic microbes! I recommend using non-flavored kombucha with this option since the flavored varieties can alter the taste of the fermented hummus,
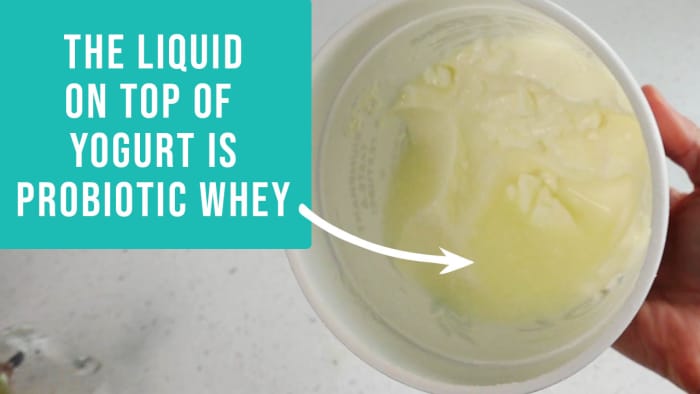
Option #3 – Liquid Whey
When this option specifies whey, it does not mean dried whey protein powder. Rather the liquid whey that forms on the top of yogurt or separates from homemade milk kefir.
- If you opt to use yogurt whey, be sure the yogurt container says it includes probiotics and actually lists the good bacteria strains in the ingredients. Whey from a standard grocery store yogurt that does not contain active cultures will not successfully ferment the hummus.
Section 3: Hummus Recipe Ingredients
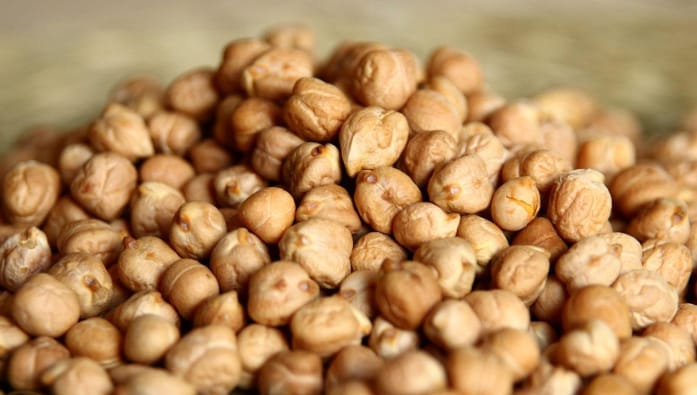
Chickpeas (Garbanzo Beans)
These special legumes are responsible for the nutty flavor and hearty texture of hummus. They are a rich source of protein, fiber, and various vitamins and minerals.
Garlic Cloves
Garlic is known for its pungent aroma and distinct flavor. It enhances the overall taste of the fermented hummus. It also brings potential health benefits such as anti-inflammatory and immune boosting properties.
Lemon Juice
Lemon juice is packed with citric acid which is full of vitamin C. Especially fresh lemon juice, it adds a bright and tangy flavor to the fermented chickpeas.
Toasted Sesame Oil
Most hummus recipes out there use ghee, but my recipe is a little different. I use toasted sesame oil instead of ghee. This oil is extracted from toasted sesame seeds and contributes a rich, nutty essence to the fermentation. It adds depth and complexity to the final product, I love it and believe you will too!
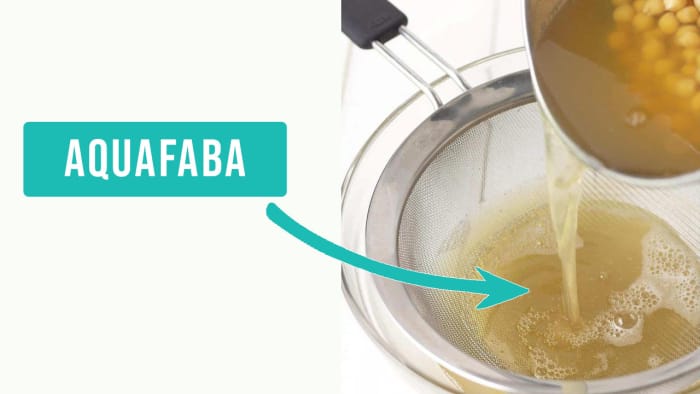
Bean Water (Aquafaba)
Aquafaba literally means bean water. It is the water in which the beans were cooked or the liquid from the can. In this recipe, using bean water instead of regular water is a crucial component because it contributes a unique texture to the finished dish.
Salt
This recipe needs a little salt for flavoring, but don’t worry, it won’t be very much!
Liquid Starter Culture
A variety of starter cultures were presented in the previous section. In order to created fermented hummus by fermenting chickpeas, a liquid starter culture is required.
- It needs to be a liquid starter culture because along with the aquafaba, it will replace the regular water that is used in standard hummus recipes.
- The liquid starter culture introduces the needed beneficial bacteria that will commence the fermentation process. This is the key magic ingredient that will enhance the hummus to the next level!
Section 4: Instructions For Fermented Hummus
Step 1
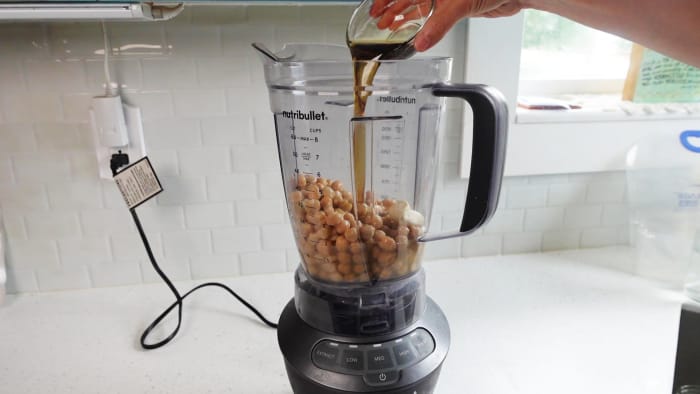
In no particular order, toss the cooked chickpeas, garlic, lemon juice, toasted sesame oil, bean water (aquafaba), and starter culture into a blender or food processor. Blend until smooth.
Step 2
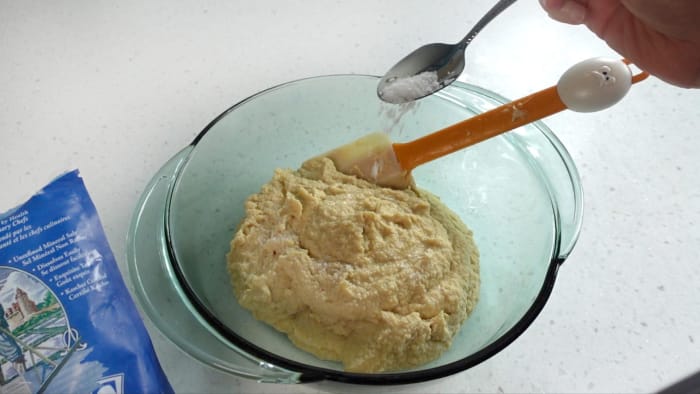
Transfer the creamy mixture from the blender to a bowl.
Step 3
Add salt to taste, incorporating the salt completely into the hummus mixture. It can be as little or as much as you want, whatever tastes good to you!
Step 4
Cover the bowl with plastic wrap, and let it hang out at room temperature on the counter for 48 hours. This 2 day period is the fermentation period. Yep, that’s all the time it needs to transform into the next level of awesomeness!
Step 5
After the 48 fermentation period, give it a taste test! You’ll notice that zingy fermentation flavor. Be sure to do a BEFORE and AFTER taste test so you notice the difference that transpires.
Step 6
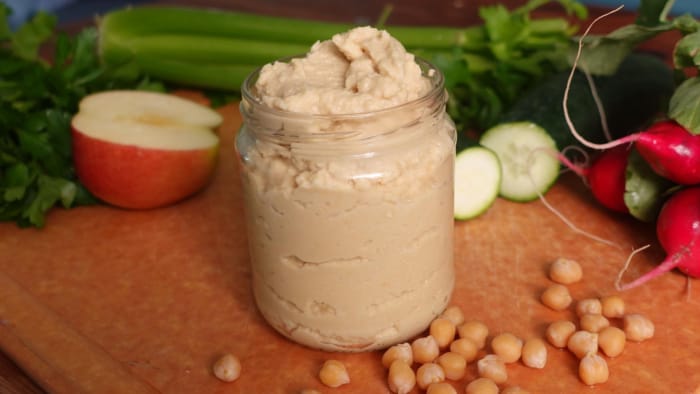
If you’re not ready to dive right in to your fermented chickpeas creation, simply transfer the fermented hummus into a jar and store it in the fridge. It’ll stay fresh for about two weeks, but hopefully it won’t hang around that long because it’s so yummy!
Section 5: Creative Ways to Enjoy Your Fermented Hummus
Probiotic Salad Dressing
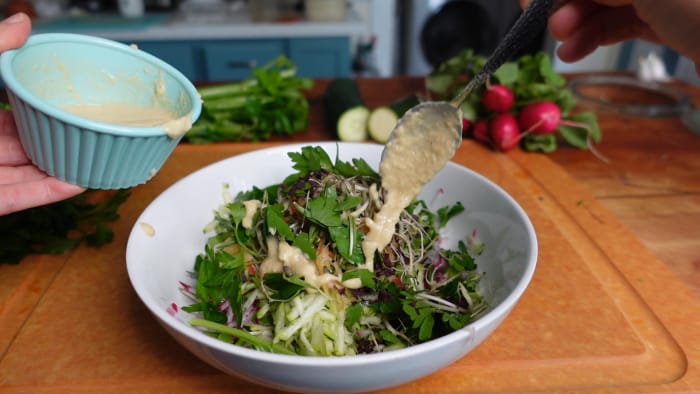
Start with creating what I call, Energy Salad! Here’s how to make it…
- With a heaping handful of power greens or spring mix as the salad base, grate some radish, zucchini, and cucumber. Grating helps break the food down which makes digestion easier on your body.
- Next add celery, apple slices, fresh herbs (parsley is fantastic with this recipe), and mung bean sprouts.
- Sprinkle a pinch of Dulse Flakes for flavor and extra nutrients. What are Dulse flakes? A mild flavored dried seaweed that is loaded with an abundance of minerals and vitamins for an amazing nutritional boost!
- Place a couple tablespoons of the fermented chickpeas that have been transformed into fermented hummus and add a little water. Stir to combine and what you find is that you just create a creamy, probiotic-packed salad dressing!
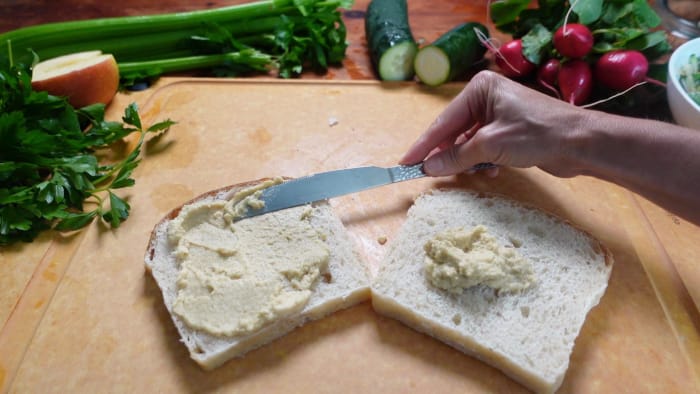
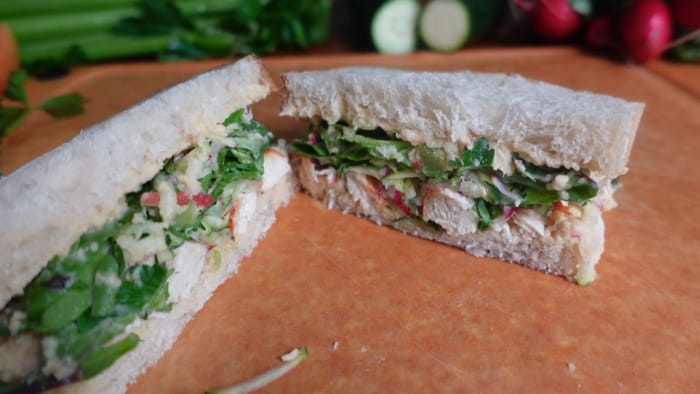
Spectacular Sandwich
You’ll never want another sandwich after this one!
- Take your favorite bread to make a sandwich and ditch the mayo. Instead, use this fermented hummus goodness as the sandwich spread. Slather it on nice and thick!
- Next, add your preferred protein whether that be cooked chicken breast or a veggie patty if you’re vegan. Extra thick sliced tomatoes or grilled eggplant would also be a great options!
- Pile on the energy salad we just talked about. This is the sandwhich filler.
- This is a deliscous and healthy sandwich that is ready to devour. By the way, fermented corn salsa would also be a wonderful probiotic & flavorful addition to any sandwich.
Get Creative!
Don’t stop there! Try your fermented chickpeas (fermented hummus) as a spread for wraps, a topping for baked potatoes, a creamy pasta sauce or turn your pancakes from sweet to savory with a dollop of hummus on top! Feel free to experiment – the sky’s the limit!

Summing Up…
Fermented hummus brings a unique tangy flavor and a dose of probiotics to your meals. It’s like a culinary adventure for your taste buds and a treat for your tummy.
So give it a try and boost your gut health, relish in its fantastic flavors and take your love of hummus to new heights. Cheers to fermented hummus, it’s a game-changer!
Fermented Hummus
Equipment
- 1 blender
- 1 Starter Culture See recipe for details
Ingredients
- 3 cups Garbanzo Beans (Chickpeas) Cooked or sprouted
- 3 cloves Garlic
- 3 tbsp Lemon Juice
- 3 Tbsp Toasted Sesame Oil substitute with ghee is you prefer
- ¼ cup Bean Water (Aquafaba)
- ½ cup Liquid Starter Culture (see below)
- Salt to Taste
Instructions
A Note Before You Start
- A liquid starter culture is required for this recipe. Each of the suggested liquid starter cultures below contain active/live probiotics that will be responsible for the fermentation to take place. Here are some options: 1.) Fermented Vegetable Brine. For example, brine from fermented sauerkraut, white kimchi, carrots, etc. 2.) Liquid Whey. Whey is the liquid that forms on top of yogurt or separates from homemade milk kefir. If you choose to use liquid whey from store bought yogurt, be sure the yogurt packaging says “contains live cultures”.3.) Unflavored Kombucha. You can use store bought or home brewed.
Instructions
- Add all the ingredients to the blender except the salt.
- Blend until creamy smooth. If a little more liquid needs to be added, feel free to do so. You can add either more liquid culture or bean water, just don’t over add liquid since it will result in runny hummus.
- Transfer the hummus to a bowl. Add salt to your taste preference and combine thoroughly. You can a little or a lot, the amount is up to you.
- Cover the bowl with plastic wrap.
Fermentation Process
- Allow the hummus to sit on the counter for 48 hours. This is the fermenting period.
- Once the 48 hours has passed, the fermented hummus is ready to eat. Give it a taste test. If you want it to have a little extra zing, allow it to sit on the counter for 1 more day. If it tastes perfect then dive in!
Storage
- Transfer the hummus to a glass jar and screw the lid on tight. Place it in the refrigerator where it will last about 2 weeks.
Video
More Recipes …
Fermented Carrot Salad
Stuffed Fermented Peppers
Fermented Beans
Fermented Garlic
Sauerkraut Masterclass