This “Fermented Garlic” post contains affiliate links. Please read my affiliate disclosure.
From Ordinary To Extraordinary: Fermented Garlic
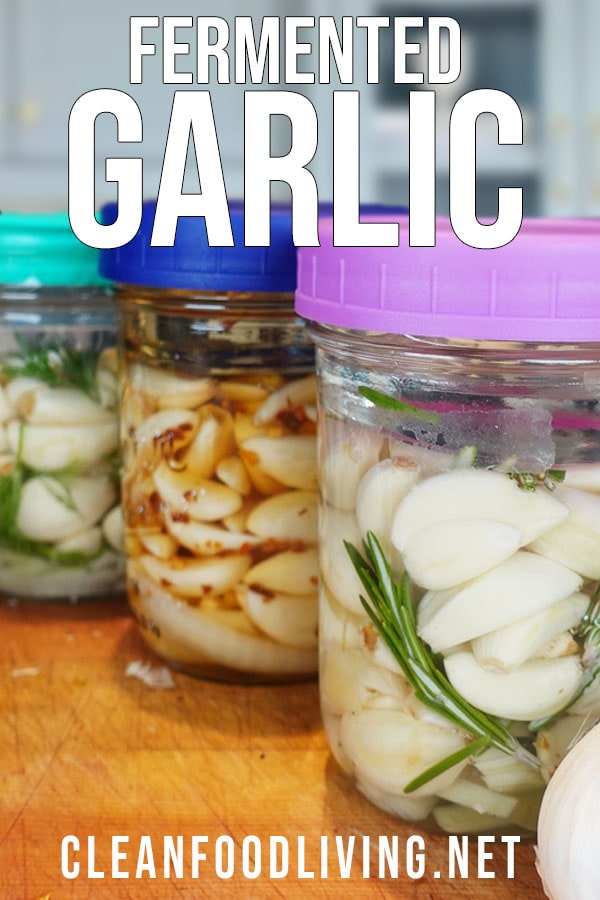
Fermented garlic is a true superfood, packed with incredible health benefits. From boosting the immune system, improving cardiovascular health to supporting digestion and acting as a natural antibiotic, fermented garlic is a valuable addition to any diet. 1, 2
By learning how to make fermented garlic at home and incorporating it into your meals, you can unlock the full potential of this remarkable probiotic-rich food. Embrace the power of fermented garlic and embark on a journey towards optimal health!
Fired Up To Ferment Garlic?
Super, so am I! Continue reading this guide where I will share with you everything you need to know. First I will review the needed ingredients and then move forward to the step by step instructions. If you are a visual learner, watch my video on Fermenting Garlic, plus learn additional tips from the video that are not detailed in this article.
Ingredients For Fermenting Garlic
Fresh Garlic Cloves:
Choose firm, unblemished cloves for the best results. Organic garlic is preferable but commercially grown garlic can be fermented as well. Therefore if organic isn’t available, don’t worry!
Onion:
Sometimes fermenting garlic can start off slow with the initial activity of the good microbes. I have found that adding some onion can help jump start the fermenting process. It’s not required, but I do recommend it.
Herbs or Spices:
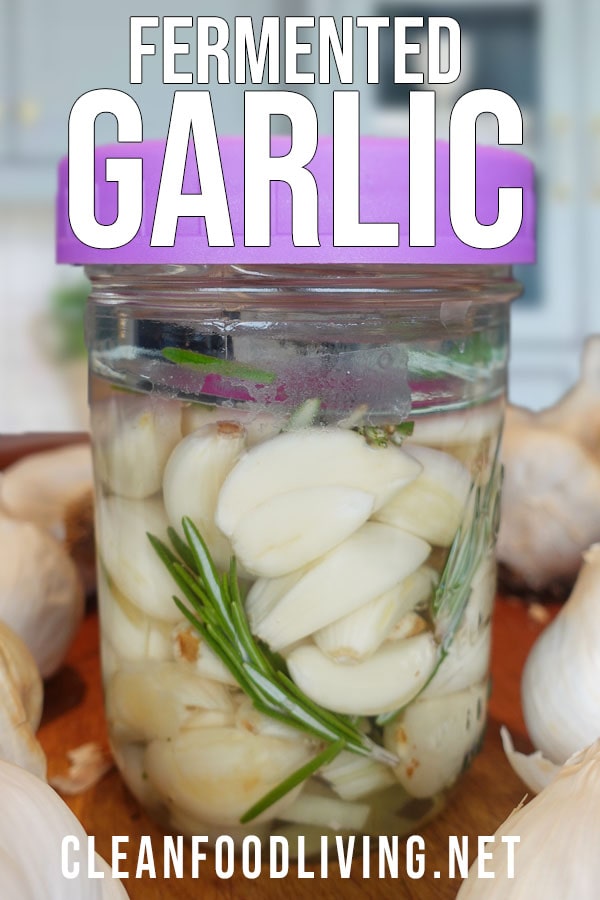
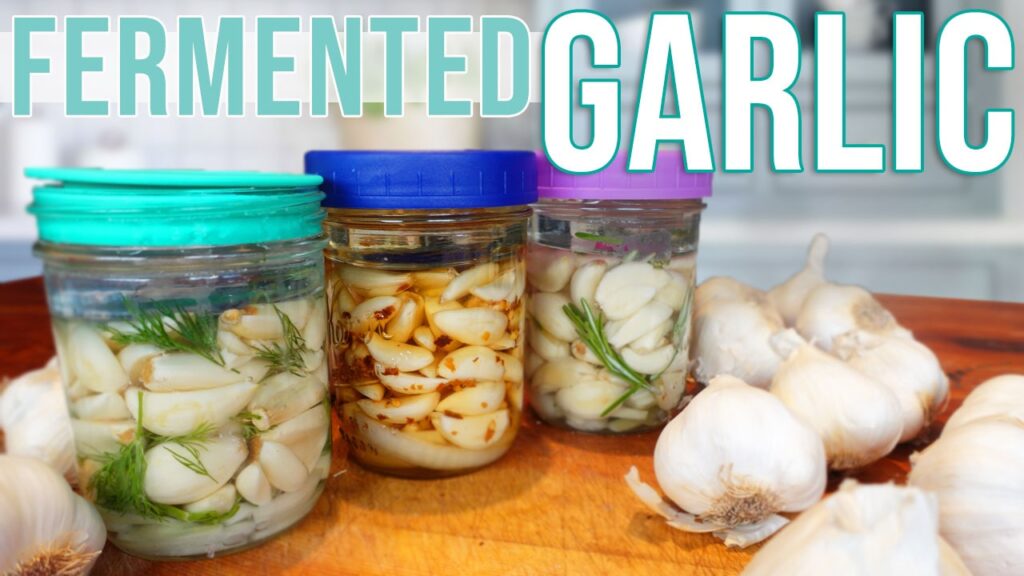
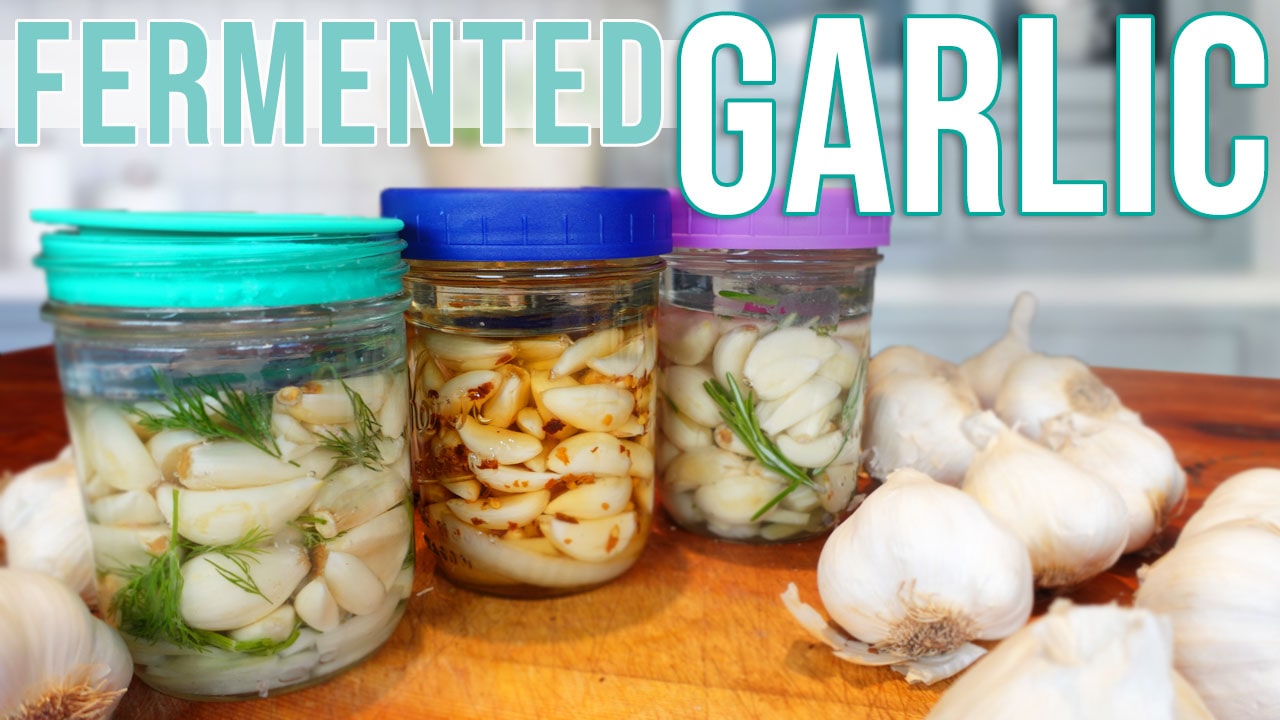
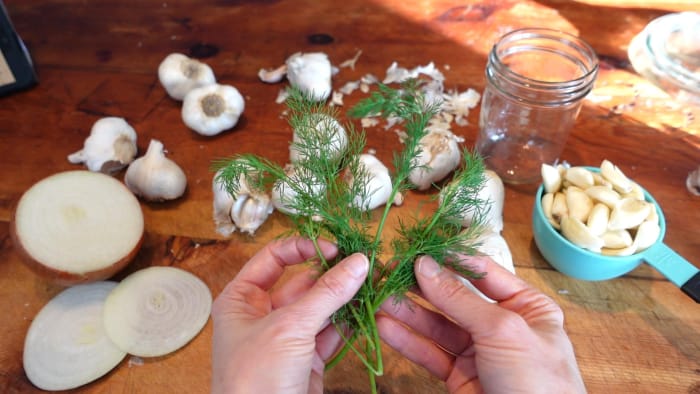
Fresh herbs like dill and rosemary wonderfully compliment this fermented garlic recipe. Tarragon, oregano or thyme are also lovely options.
A 2nd herb option is to use dried instead of fresh. I have used a dried Italian blend before and it flavored the fermented garlic deliciously!
Lastly, a 3rd flavoring option is to fresh grind your favorite spice such as fennel, caraway, dill or cumin seeds. Fresh grinding spice seeds unleashes explosive flavor & health benefits.
Salt:
Use a salt that does not contain anti-caking agents since these chemicals can interfere with the fermenting process. Read the ingredient label to know if your salt contains them. You can use any type of salt so long as the ingredients read salt and only salt.
Water:
Towns and cities typically use chloramine or chlorine in tap water which can sometimes hinder the fermentation process. Using filtered water (non-chlorinated) ensures a clean and suitable environment for the fermentation to take place.
Step-by-Step Guide to Fermenting Garlic
Step 1: Peel the Garlic
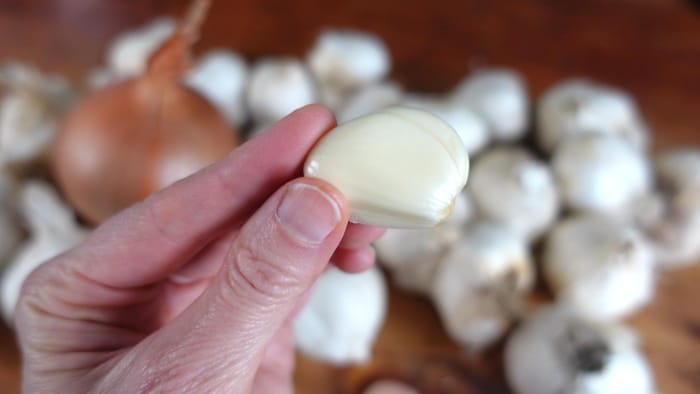
Separate the cloves from the bulbs and remove the papery skin from each clove. Ensure that the cloves are intact and free from any mold or damage.
Step 2: Prepare the Brine
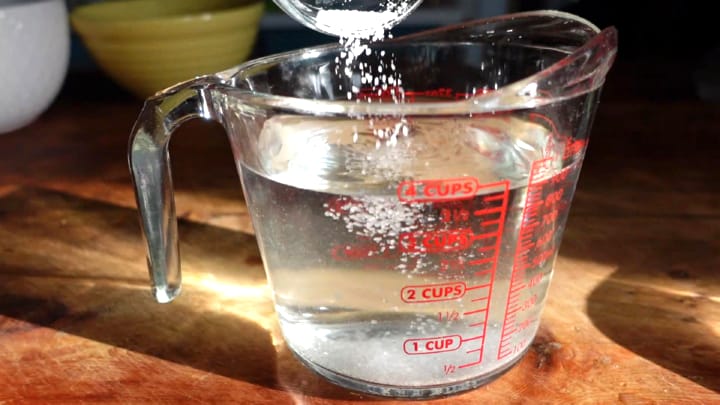
Combine the salt and water then stir to mix thoroughly and set aside for later use.
Step 3: The Equipment
Wash the jar, lid and fermenting weight with hot soapy water. Sterilization is not required, hot soapy water is sufficient.
Step 4: The Herbs or Spices
Add as much or as little of the fresh herbs that will please your palate. Using clean scissors, cut the fresh herb of your choosing into 1 to 2 inch (2.5 to 5 cm) segments.
If you are instead using dried spices or plan to fresh grind spice seeds, you can also use as much or a little as you like. I recommend about a teaspoon (3-5 g) per pint (500 ml) jar.
Step 5: The Onion
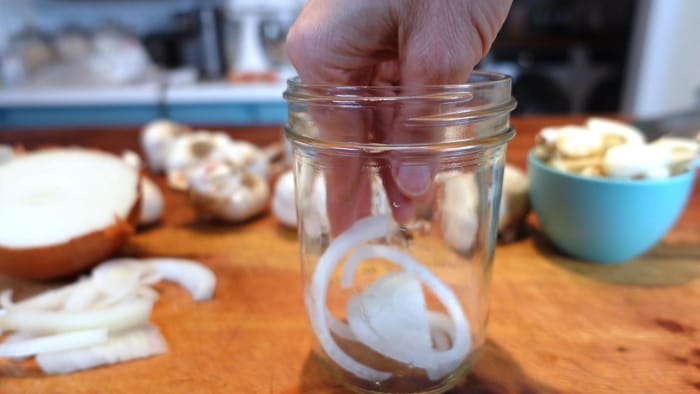
Remove the papery peel and cut 1 or 2 medium to thick slices of onion. if needed, cut up the slices so they better fit into the jar.
Place the onion into the bottom of the jar. The garlic will be added on top.
Step 6: The Garlic
Place the peeled garlic cloves & fresh herbs or spices into the glass jar by layering them.
Play a little Tetris to fit the cloves into blank spaces then continue layering the garlic and herbs/spices until the jar is about 75% full.
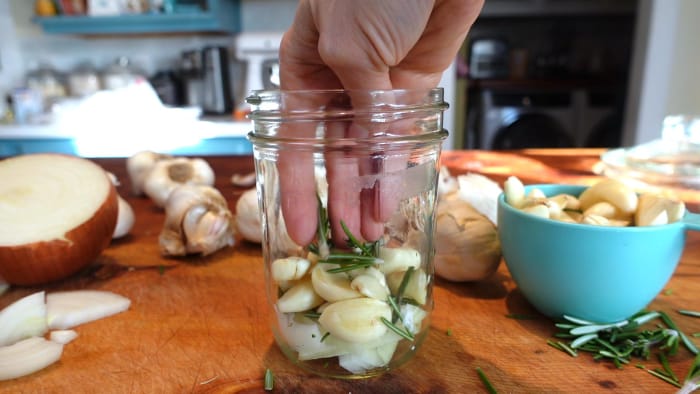
Step 7: The Brine
Pour the brine over the garlic until the cloves are fully submerged.
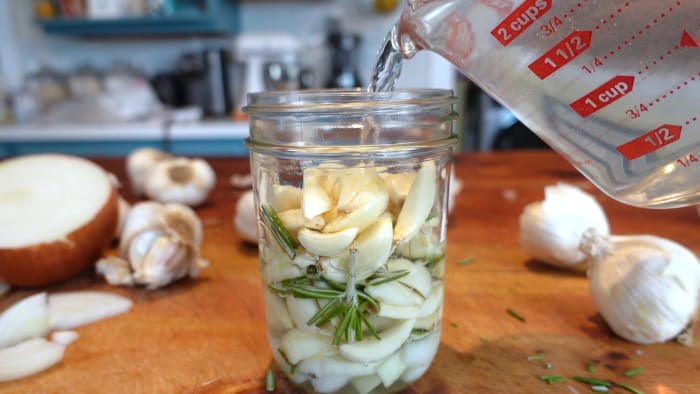
Step 8: The Fermenting Weight
Place a fermentation weight on top of the garlic cloves to keep them under the liquid because it’s important to keep everything submerged under the brine to prevent mold growth.
- Fill the jar with brine until the fermenting weight is fully submerged.


Notes About The Fermenting Weight
When fermenting garlic it’s essential that the food remains submerged beneath the brine for the sake of food safety. These are the glass fermentation weights I recommend and personally use. They are lead free and heavier than other glass fermenting weights I have used in the past. The heavier, the better!
If you do not have glass fermenting weights, watch my video below on DIY Fermentation Weight Ideas.
Step 9: The Lid
Loosely place a regular lid on the jar. So long as the lid is loose, the fermentation gasses will be able to escape and you will not need to burp the jar.
If you have specialty fermenting lids, feel free to use them. Just keep in mind that although they are handy, specialty fermenting lids are not required.
Step 10: The Fermentation Period
Place the jar(s) of garlic on a dish or kitchen towel to catch any possible brine overflow that may occur during the 1st week of the fermenting process.
The best temperature to ferment in is between 72-85°F (22-29°C).
Leave on the countertop for 2 to 3 weeks depending on your desired level of fermentation.
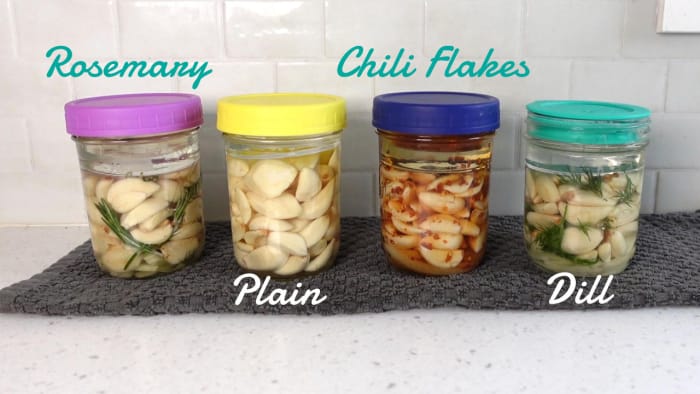
Step 11: Ending The Fermentation
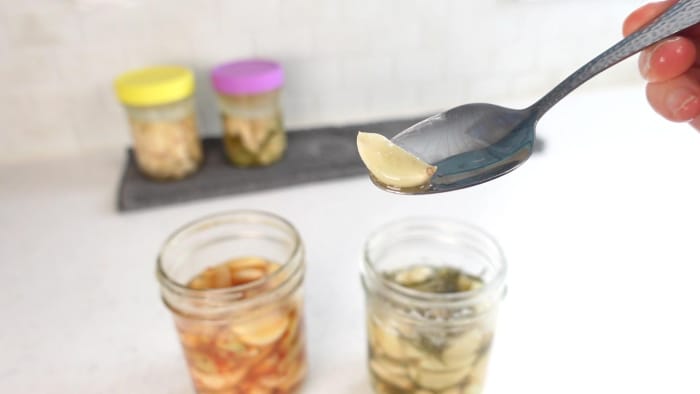
After about 2 weeks, taste a clove to determine if it’s to your liking.
- To do so, remove the weight, then pull out a clove with a clean utensil.
- If the garlic is to your liking, do not put the weight back in and seal the jar tight with a regular lid.
- Store it in the cool temps of a refrigerator. Fermented garlic can last for several months when refrigerated.
If the flavor has not developed to the full potential of your liking, then rewash the weight and place it back in the jar.
1.) Allow the fermentation process to continue another week and taste test again.
2.) Follow the same instructions from above when you are ready to end the fermentation and store it for long term in the refrigerator.
Signs Of Fermentation
After 4-6 days, check on the garlic to ensure that fermentation is taking place. These are positive signs to look for:
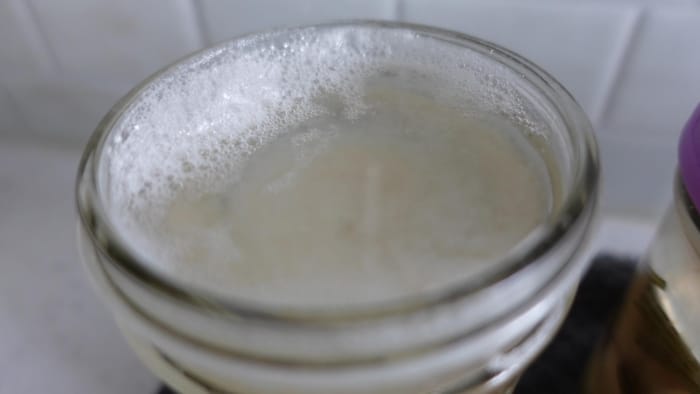
Bubbles:
The good microbes that are responsible for fermentation will consume the natural sugars in the garlic & onion. This will make them very active and therefore release carbon dioxide bubbles as a byproduct.
PH:
Additionally, the good bacteria (probiotics) will release a byproduct called lactic acid as they continue to feed on the food’s natural sugars. As the lactic acid increases its presence in the fermenting garlic, the acid will drop the ph of the brine.
- A PH below 4.5 is what I call, “the safety zone” because bad microbes cannot survive in a PH below 4.5.
- Use a digital ph meter or ph paper test strips to see if the ph has dropped below 4.5. A ph between 3.0 & 4.0 is even better!
Floaters
It’s common to have some food particles pushed up by the carbon dioxide bubbles during the 1st week. As you keep an eye on the garlic over the fermentation period, remove any spice or herb pieces that may float to the surface.
- Why remove the floaters? Because once they are exposed to the surface oxygen, the floaters can be an invitation to future mold development. It’s not a guarantee mold will form, but if possible, remove them to reduce the risk.

Smell:
A healthy fermentation smell will be sour & garlicy. However, if you notice a foul or rotten odor, discard the batch and begin again with fresh cloves.
Cloudy Brine & Color Shift:
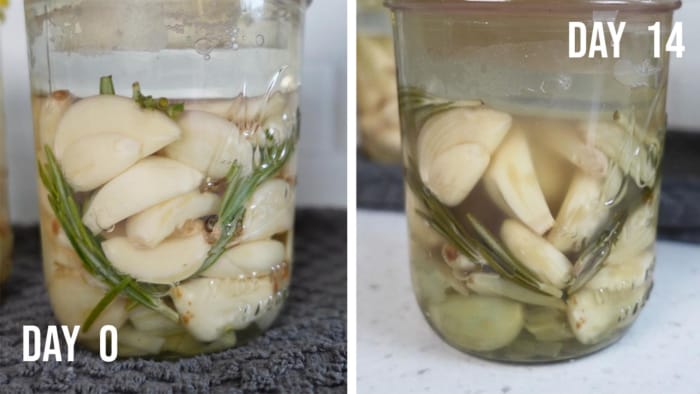
Within a few days, the brine will become cloudy and the colors will shift from vibrant to dull tones. Both of these are positive signs of fermentation.
Blue or Green Garlic
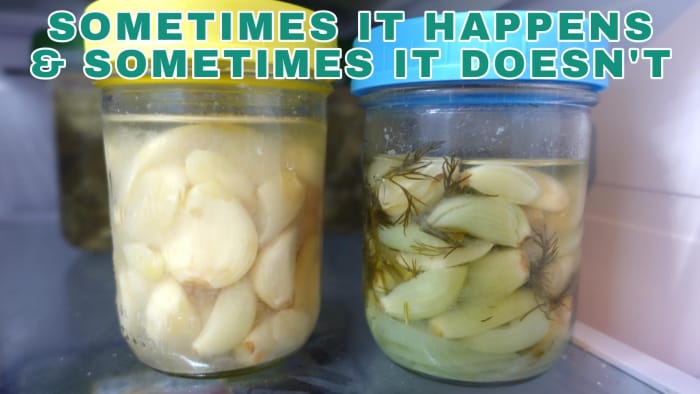
When garlic has prolonged exposure to acid such as vinegar or the acidic brine of a fermentation, an organic compound in garlic called Allicin can react with certain amino acids causing the garlic to turn greenish-blue.
Other than the garlic being a color we aren’t used to, it’s harmless and the garlic is safe to eat. This same answer applies to onions as well.
Is My Fermentation Safe To Eat?
This is the #1 question from fermenting newbies and is an important topic to cover. Below are the 4 safety check points to follow to ensure your fermented food is safe to eat.
- Sight: When you open the jar, inspect the onions for any mold. If there is none, move on to the next check point.
- Smell: Put your nose up the the jar and take a whiff. A healthy fermentation should have a light soury-sweet smell, never foul or offensive.
- PH: Take a PH reading with either a digital meter or paper test strips. A safe fermentation has a PH below 4.5.
- Taste: If the above points all pass, it’s time to take a taste! The onions should taste pleasant (even delicious) and never foul or rotten.
Click here to view or print my 4-point checklist:
Don’t Give Up!
Don’t be discouraged if your first attempt at fermenting garlic doesn’t turn out as expected. Trust me, I have had my fair share of “oopsies” during the early days of my fermenting journey. 😊
Learn from any mistakes and simply adjust your process accordingly for future batches. So long as you don’t give up, you will grow into a confident & competent fermenter!
Culinary Ideas Using Fermented Garlic
Fermented garlic’s distinct flavor and aroma make it a versatile ingredient in the kitchen. Experiment with different recipes and let your creativity guide you. The possibilities are endless when it comes to using fermented garlic in your culinary endeavors!
Here are a few creative ways to incorporate fermented garlic into your cooking:
Salad Dressings:
Blend fermented garlic cloves with olive oil, vinegar, and herbs to create a flavorful salad dressing. The tangy and complex flavor of the garlic will add depth to your salads.
Sauces and Marinades:
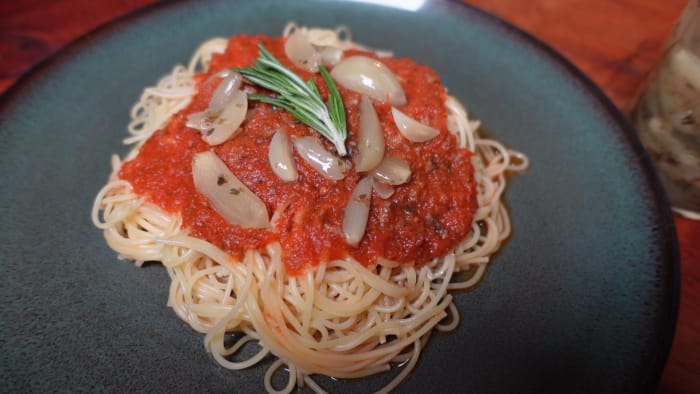
Add fermented garlic to your favorite sauces and marinades for an extra kick. It pairs well with barbecue sauces, pasta sauces, and Asian-inspired marinades.
Add To Hummus:
Fermented garlic can elevate the taste of a good hummus recipe. Double up the fermentation by using fermented garlic instead of fresh in my Fermented Hummus recipe! You can find the written recipe by clicking here or you can watch the step by step instructional video on my YouTube Channel.
Meal Additions:
Although cooking will kill the probiotics found in fermented garlic, you can slice up the garlic and add it to a dish after the cooking process has taken place.
Summing Up…
Fermenting garlic is an easy and rewarding process that can elevate your culinary creations and provide numerous health benefits. By following the step-by-step guide outlined in this article, you’ll be on your way to enjoying homemade fermented garlic!
So why wait? Start fermenting your own garlic today and unlock a world of exciting flavors and health-boosting properties. Enjoy the process and savor the unique taste of homemade fermented garlic!
Fermented Garlic
Equipment
- 1 Glass Jar & Lid
Ingredients
- 1 heaping cup Garlic cloves peeled
- 1-2 slices Onion thick
- Handful Fresh Herbs (ie: rosemary, dill, tarragon, oregano, basil) sub with 1tsp (3-5g) dried
- ¾ tbsp Salt salt with no anticaking agents added
- 2 c Water
Instructions
Preparation
- Wash the jar, lid and weight in hot soapy water. Sterilization is not required.
- For the brine, add the salt to the water and mix thoroughly.
- Peel the garlic cloves. Set aside any bruised cloves, they will still be usable. However, never use any clove that had any signs of dusty or fuzzy mold.Regarding the bruised cloves: Cut off the bruised portion and discard. Use the good portion in the fermentation.
- Slice 1-2 thick slices of onion and cut up. (They will fit in the jar easier if cut up)
- Cut your fresh herb of choice into 1 inch (2-3cm) segments.
Load The Jar
- Place the onion in the jar.
- In layers, add the garlic and fresh herbs.If subbing fresh herbs with dried herbs or spices, intermittently sprinkle them throughout the garlic layers.
- Load the jar 75-80% full. The 2inch (5cm) headspace will allow room for the fermenting weight and brine.
- Pour the brine over the garlic up to the jar threads.
- Add the glass fermenting weight and press down. The fermenting weight helps hold the garlic & herbs beneath the brine which is imperative for a safe & successful fermentation. Therefore, don't skip the weight!Add a little more brine if the fermenting weight is not fully submerged. You want everything beneath the brine.
- Place a loose lid on the jar. So long as the lid is loose, the fermentation gasses will be able to escape and you will not need to burp the jar.
The Fermentation Period
- Leave the jar(s) of garlic on the countertop at room temperature for 2 to 3 weeks.It's recommended to place the jar(s) on a kitchen towel to catch any possible brine overflow during fermentation.
Taste Test
- Feel free to begin taste testing the garlic around the 2nd week. To do so, open the jar and remove the weight with clean hands. Next, use a fork to pull out a clove. If the fermented garlic tastes good to you, end the fermentation.If you want the flavors of the fermenting garlic to further evolve, re-wash the weight and place it back in the jar. Place the lid on and allow the garlic to continue fermenting another week on the counter.
Ending The Fermentation
- When you are ready to end the fermentation, remove the fermenting weight and clean out any kahm yeast that may have developed.Removing the weight will take most of the kahm yeast out with it (if there is any). Next, use a paper towel to wipe the inside of the jar and dab out any remaining kahm yeast pieces.Since kahm yeast is harmless, it is ok if some flakes remain in the jar.
- Secure a tight lid on the jar and place the fermented garlic in the refrigerator where it will last for many months. Enjoy!
Video
Citations
- https://www.ncbi.nlm.nih.gov/pmc/articles/PMC7402177/
- Norris, T. (2018, September 29). Probiotics and digestive health: Benefits, risks, and more. Healthline. https://www.healthline.com/health/probiotics-and-digestive-health
More Recipes …
Fermented Carrot Salad
Stuffed Fermented Peppers
Fermented Cooked Beans
Fermented Beans
Fermented Garlic
5 Safety Guidelines When Fermenting Vegetables
