This “Mold on Fermented Vegetables” post contains affiliate links. Please read my affiliate disclosure.
Mold On Fermented Vegetables: Can I Save It?
Vegetable fermentation is a fantastic way to preserve and enhance the nutrition of your favorite produce. However, one common challenge faced by fermenters is the development of mold on the surface of their creations.
In this article, we’ll explore the most common causes of mold, how to prevent it and what to do if it forms.
4 Factors Mold Needs In Order To Grow
It’s crucial to recognize that mold can thrive in just about any environment that has the right combination of these 4 factors:
- Oxygen
- Moisture
- Warmth
- Energy source to feed on (food)
Fermenting vegetables just so happens to have all of those factors present which is why so many fermenters commonly experience mold.
However, even though fermenting vegetables can often be a potential host to mold, proper fermentation protocol can prevent it! Let’s explore the most common mistakes fermenters make.
Common Errors That Cause Mold on Vegetable Fermentations

Error #1: Improper Cleaning of Equipment
Fermenters sometimes take for granted that the fermenting jar or crock is clean by appearance. But mold spores are invisible and naturally waft through the air, landing on surfaces everywhere. They remain dormant until the 4 conditions mentioned earlier present themselves.
Dirty hands can also be a culprit when handling the fermenting vessel or the food. Therefore it’s crucial to freshly wash all equipment & hands before getting started.
Error #2: Improper Fermentation Protocol
These are the 3 most common errors in fermentation protocol that can invite mold into your fermentation:
- Insufficient Salinity
- Insufficient Acidity
- Inadequate Brine Submersion
Let’s explore these more….
• Insufficient Salinity
Salt is a powerful antimicrobial agent which is the primary reason why it’s mandatory in vegetable fermentation. Inadequate levels of salt in the brine can create an environment where mold can develop.
A 2-2.5% salinity is the lowest percentage to use when fermenting vegetables. Additionally, depending on what type of vegetable is going to be fermenting, the salinity recommendation can increase. Therefore it’s important to always follow the fermentation recipe.
• Insufficient Acidity
Have you heard of the PH scale? It’s a scale that measures the alkalinity & acidity of solids and/or liquids.
- The PH scale considers 7 to be neutral.
- The higher the PH above 7, the more alkaline a food or liquid is.
- The lower the PH below 7, the more acidic the food or liquid is.
A PH below 4.5 is what I call the acidic “safety zone” because a PH below 4.5 kills mold spores and other bad pathogens including C. Botulinum, the microorganism responsible for botulism poisoning.

Keep in mind that a vegetable fermentation does not start out acidic, but rather develops into acidity due to the probiotics present (the good bacteria). These ‘good’ bacteria consume the natural sugars in the food and release lactic acid as their by-product.
The acid accumulates in the brine as the fermentation progresses and in turn, drops the PH below 4.5. With the fermentation in the PH “safety zone”, there is a reduction of the chance of mold development.
Personally, I always check the PH of my fermentations as they progress. To do so, I use a digital PH meter or paper PH test strips. Feel free to browse the variety of PH testers in my website store.

• Inadequate Brine Submersion
Vegetables or other food ingredients such as herbs & spices added to the fermentation, can be invitations to mold growth IF they are not fully submerged beneath the brine.
The Role of Brine
At the start of this article, I listed the 4 conditions mold needs in order to grow. Oxygen was #1 on the list. It just so happens that there’s no oxygen in the salt-water brine.
By pouring the brine over the vegetables in the jar, the oxygen-free environment snuffs out the possibility of mold developing within it.
However, the oxygen is present above the brine on the fermentation’s surface. That’s why it’s important not to let the food float up and rise above the brine because the oxygen exposure will open the door to the possibility of mold.
Brine is the ultimate protective-shield to prevent mold on fermented vegetables!

How To Prevent On Vegetable Fermentations
1. Cleanliness
Wash in hot soapy water any piece of equipment that is going to touch the food.

Be sure not to overlook these pieces of equipment:
- The cutting surface such as the counter or cutting board
- The knife
- The kraut pounder or wooden dowel
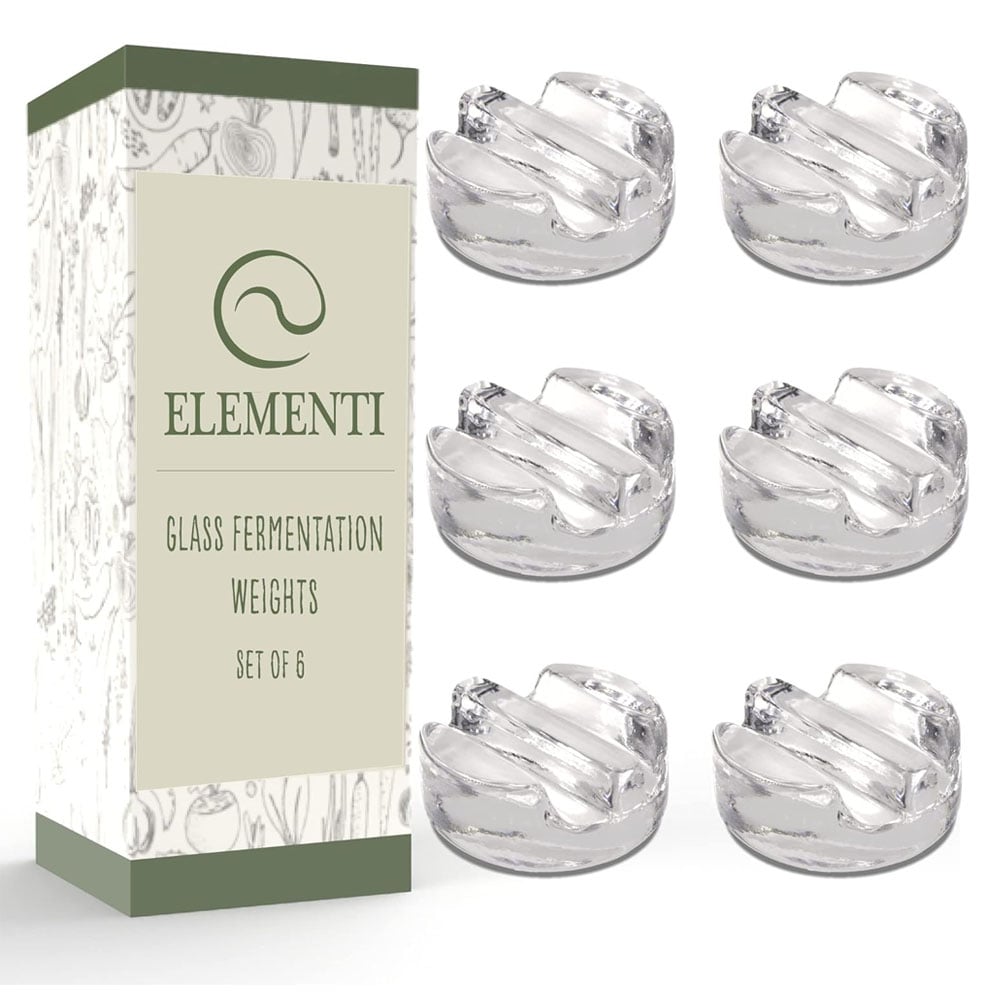
- The fermentation weight
- The lid of the jar or crock lid
- Your hands!
Sterilization is not mandatory to prevent mold in 99% of cases. Personally, I never sterilize my jars or crocks, but rather wash them in hot soapy water. Never do I encounter mold issues sourced from improper cleaning.
Here is the possible exception: If you live in a hot & humid climate where you already experience quick & easy mold growth in your environment, sterilization may be the extra step needed in mold prevention.
2. Sufficient Salt
Be sure to follow the recipe’s salt measurement to ensure adequate salinity of the fermentation.

3. Low Acidity
Check the PH of the fermentation after the 4th or 5th day to ensure the PH it is below 4.5.

4. Brine Submersion
The combination of the brine’s adequate salt content, the acidic pH (generated by the probiotic microbes during the fermentation process) AND absence of oxygen, make the brine an unfavorable environment for mold and all other bad pathogens.
Remember, the brine can only provide safety to the food that is fully submerged within it.

5. Fermentation Weight
Use a fermentation weight every time you ferment vegetables. Even if the food seems securely packed down on day 1, over the following days the brine will loosen the vegetables and the carbon dioxide gasses formed by the good bacteria will push the food up, exposing it to the surface oxygen.
This is why using a fermentation weight is not optional, but essential. The glass or ceramic weight keeps the food fully submerged beneath the brine, protecting it throughout the entire fermentation period.


Notes About The Fermenting Weight
When fermenting foods it’s essential that the food remains submerged beneath the brine for the sake of food safety. These are the glass fermentation weights I recommend and personally use. They are lead free and heavier than other glass fermenting weights I have used in the past. The heavier, the better!
If you do not have glass fermenting weights, watch my video below on DIY Fermentation Weight Ideas.
6. Floaters
After the fermentation weight is in the jar and holding the food down, use a clean utensil to lift out any floaters that may have risen to the surface.

7. Specialty Fermenting Lids
Although they are not required to successfully ferment vegetables, specialty fermentation lids can help reduce the possibility of mold formation.
The specialty lids utilize a 1-way valve system. The valve allows the fermentation gasses from within the jar to escape outbound while at the same time, not allowing any new oxygen to enter the jar.
If you live in a hot & humid climate, then a specialty fermentation lid may be a necessity to prevent mold development.

Browse my online store of the best fermentation lids to use. Additionally, watch the video below that demonstrates how each model works and compares their effectiveness. This is a must-watch video before you buy anything, anywhere!
An Example Of Mold Formation:
Below is a photo demonstrating an early mold development within a sauerkraut fermentation. The cabbage leaf did not have an adequate weight placed upon it, rather the weight was too small and too light.
Once the cabbage leaf poked up above the brine level and was exposed to the surface oxygen, mold took the opportunity to form.
Mold can happen quickly once exposed to oxygen! In the photo below, the mold appeared only one day after the cabbage rose above the brine.
This could have been prevented by the use of a properly sized & heavy fermentation weight to hold the cabbage beneath the brine. I’ll further discuss what to do if mold develops in the next section of this article.


What To Do If Mold Develops
The danger of mold are the mycotoxins and possible anti-biotics it can release into the food. Therefore, even if the mold is not in direct contact with the fermented food in the jar, the mycotoxins and possible antibiotics will infiltrate the brine and spread throughout.
Miniscule Mold On Fermented Vegetables
It is my theory that the amount of mycotoxins are proportionate to the amount of mold present (and the length of time the mold was on the fermentation). That is why I believe a fermentation with a miniscule amount of mold development, caught on the onset of it’s appearance, is not dangerous and therefore savable.
By checking on the fermentation every 1 to 2 days with a visual inspection, any evidence of mold can be immediately seen and taken care of. Be sure to take action right away by using a clean utensil to lift the mold out of the fermentation.
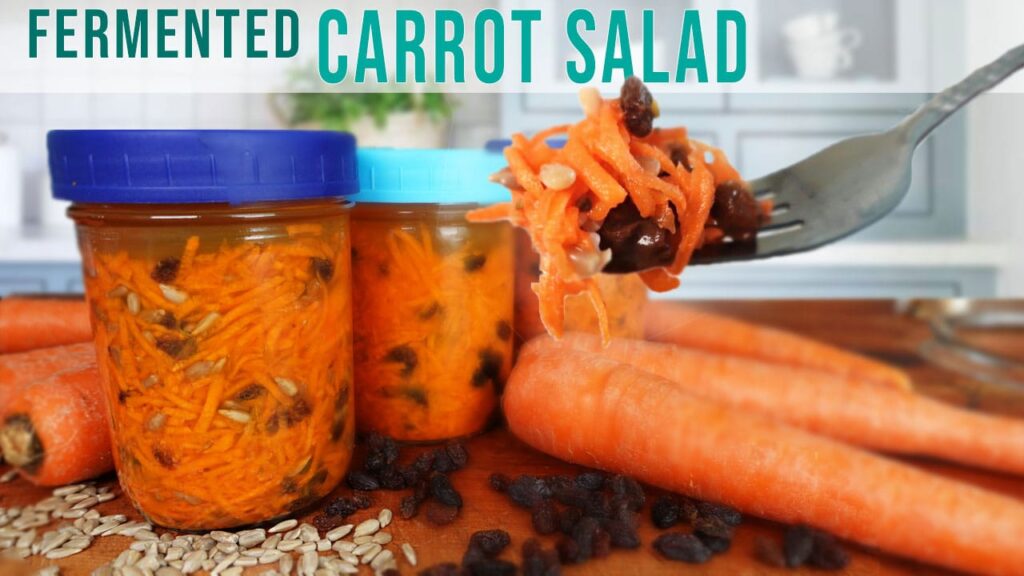
Below is an example of some mold that began to develop on some dill floaters that rose to the top of my carrot fermentation. Once exposed to the surface oxygen, mold ceased the opportunity and began to grow. Since I caught the development right away, I simply lifted out the mold specs with a clean spoon and continued with the fermentation as normal.
No further mold developed on my fermented carrots and I ate them all, delicious! However, if I had not been keeping an eye on the fermentation, the mold growth would have advanced quickly & significantly, making the fermentation unsavable.


- Keep in mind that if you are ever uncomfortable, even with a miniscule amount of mold, don’t hesitate to throw away the fermentation or compost it.
Moderate To Advanced Mold On Fermented Vegetables
Mold on vegetable fermentations that has advanced into a moderate or significant growth, should be thrown away.
The more mold there is, means there are more mycotoxins and possible antibiotics in the brine, infiltrating the entire fermentation. Sorry for the bad news, but the fermentation should be thrown away and not saved. It’s better to be safe than sorry!

Opposite Perspectives Regarding Mold on Vegetable Fermentations
In the fermenting community, opinions on how to handle mold vary. Some experts advocate a zero-tolerance approach. They argue that any sign of mold, regardless of size, renders the entire fermentation unsafe.
Conversely, another school of thought that is also represented by experienced fermenters, suggests that certain molds, particularly white and gray ones, can be scraped off the surface without compromising the safety of the vegetables below.
I place myself in the middle of these 2 perspectives since I believe the fermentation is savable so long as the mold development is minuscule and nothing more.
Although there are many opinions regarding mold on fermentations, everyone including myself agrees on these two points:
- Never directly eat any mold.
- Any fermentation with BLACK mold should be thrown away immediately.

Black & white mold growing on the surface of a red sauerkraut
Fermentation Funk Series
I provide more examples of mold growth and discussion of its safety regarding vegetable fermentation in the following video:
Click Here To See The Complete Series Playlist OR Select A Video Below:
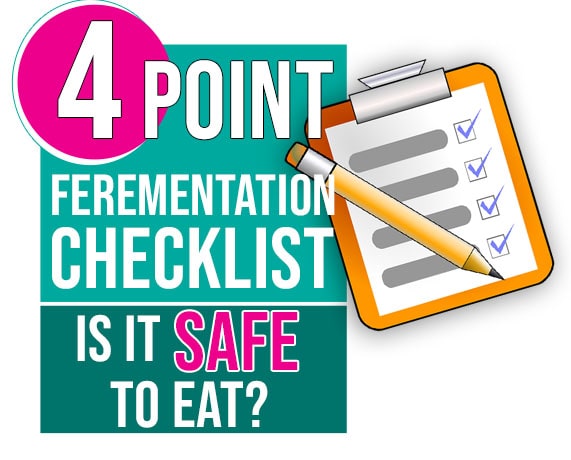
Is My Fermentation Safe To Eat?
This is the #1 question from fermenting newbies and is an important topic to cover. Below are the 4 safety check points to follow to ensure your fermented food is safe to eat.
- Sight: When you open the jar, inspect the onions for any mold. If there is none, move on to the next check point.
- Smell: Put your nose up the the jar and take a whiff. A healthy fermentation should have a light soury-sweet smell, never foul or offensive.
- PH: Take a PH reading with either a digital meter or paper test strips. A safe fermentation has a PH below 4.5.
- Taste: If the above points all pass, it’s time to take a taste! The onions should taste pleasant (even delicious) and never foul or rotten.
Click here to view or print my 4-point checklist:


